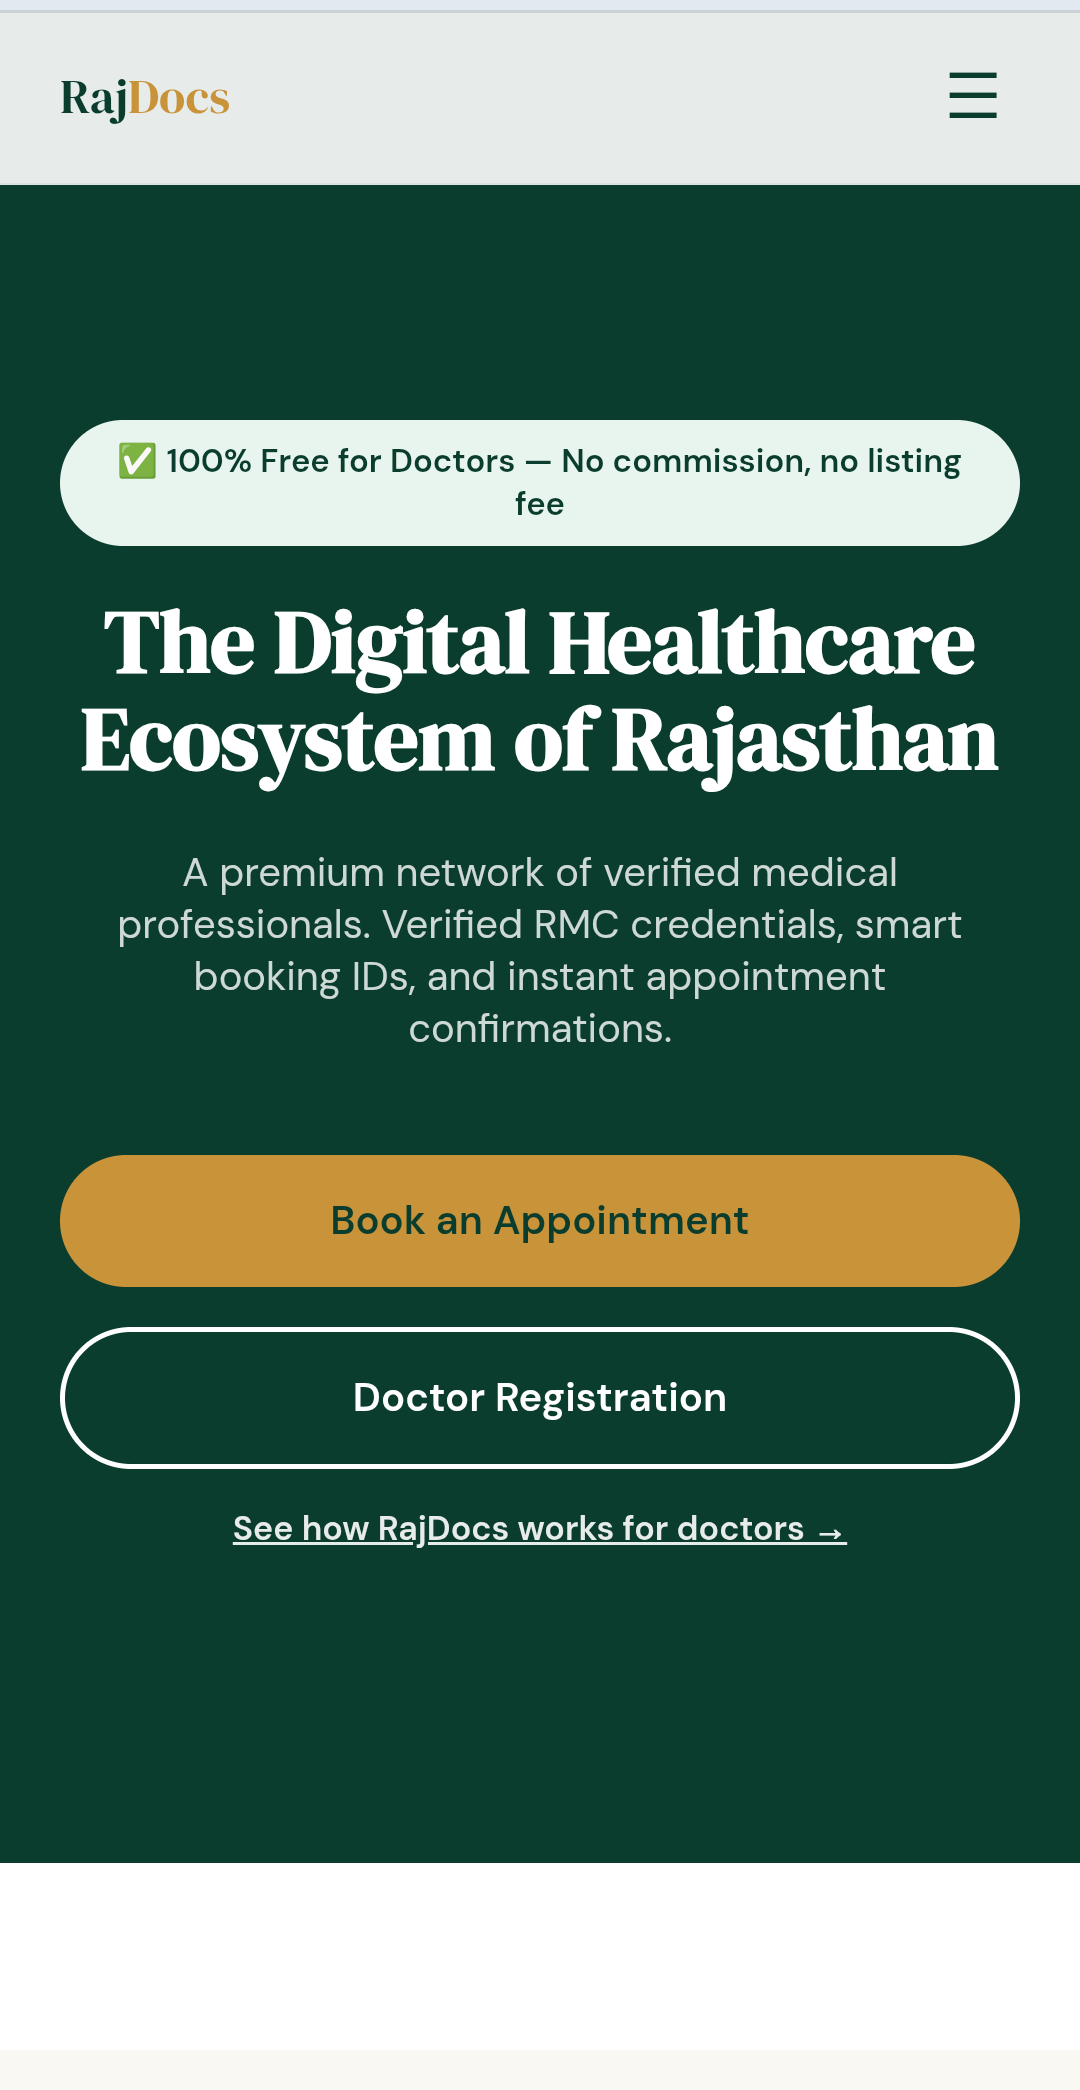
Every doctor's journey begins at rajdocs.com. Tap "Doctor Registration" to create a free account, or "See how RajDocs works for doctors" for a quick preview first.
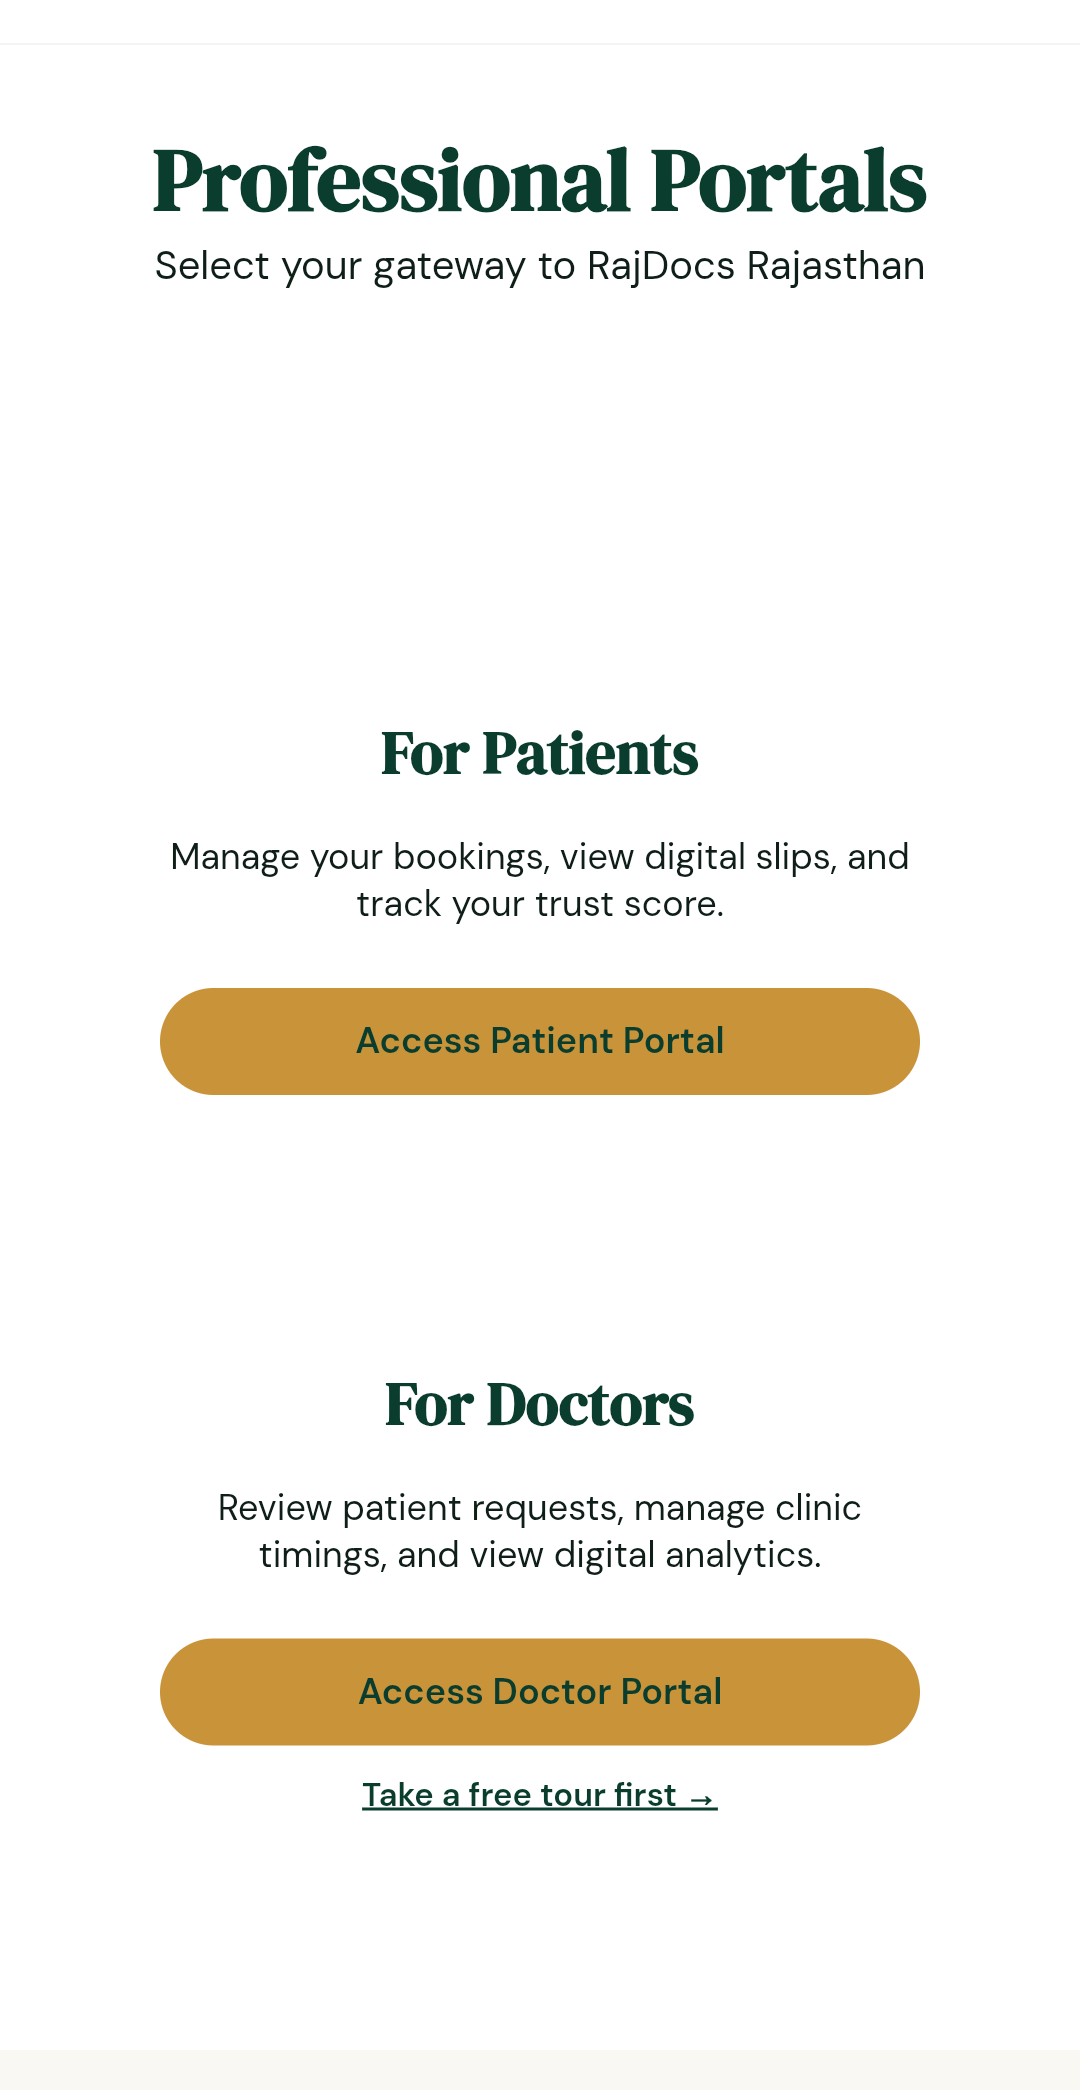
On the Professional Portals screen, tap "Access Doctor Portal". New doctors can also tap "Take a free tour first" before registering.
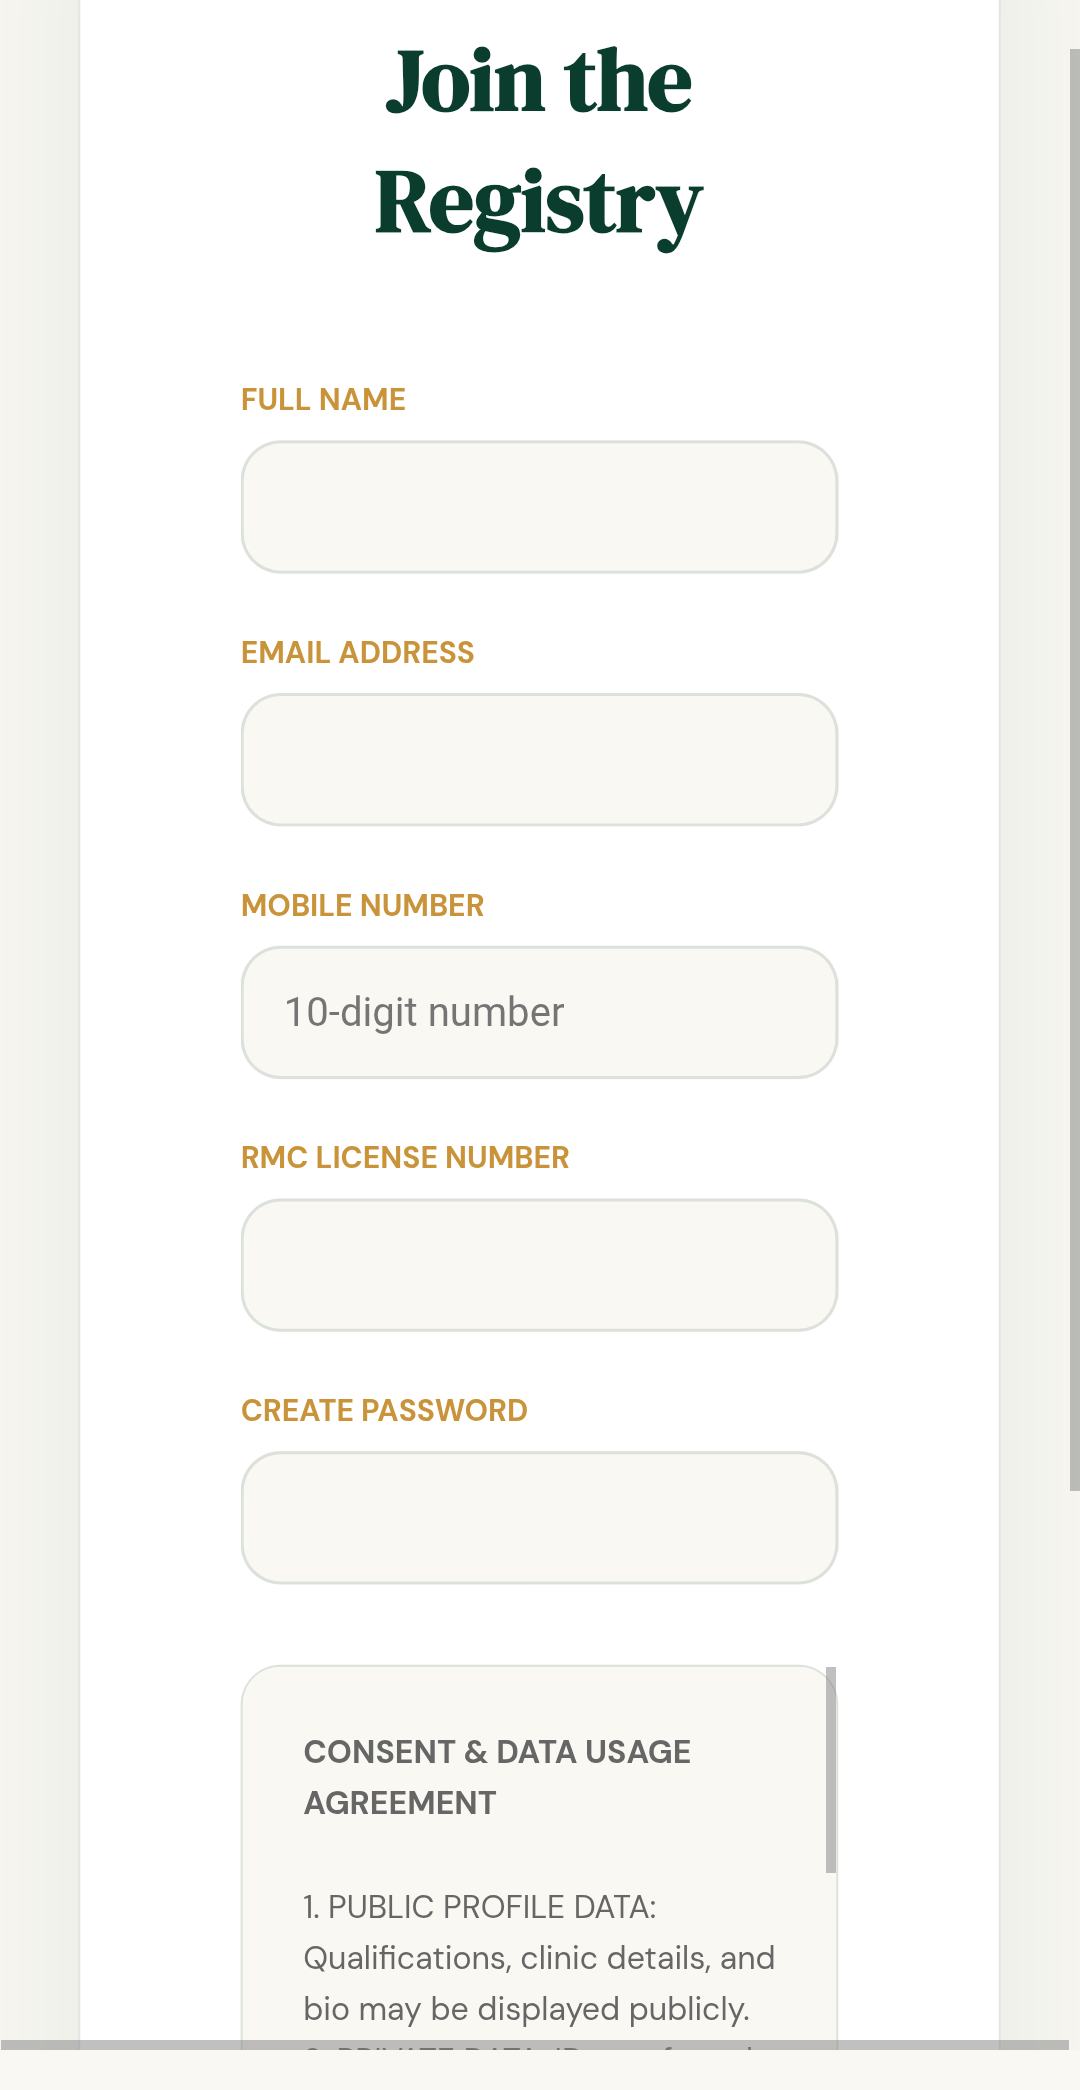
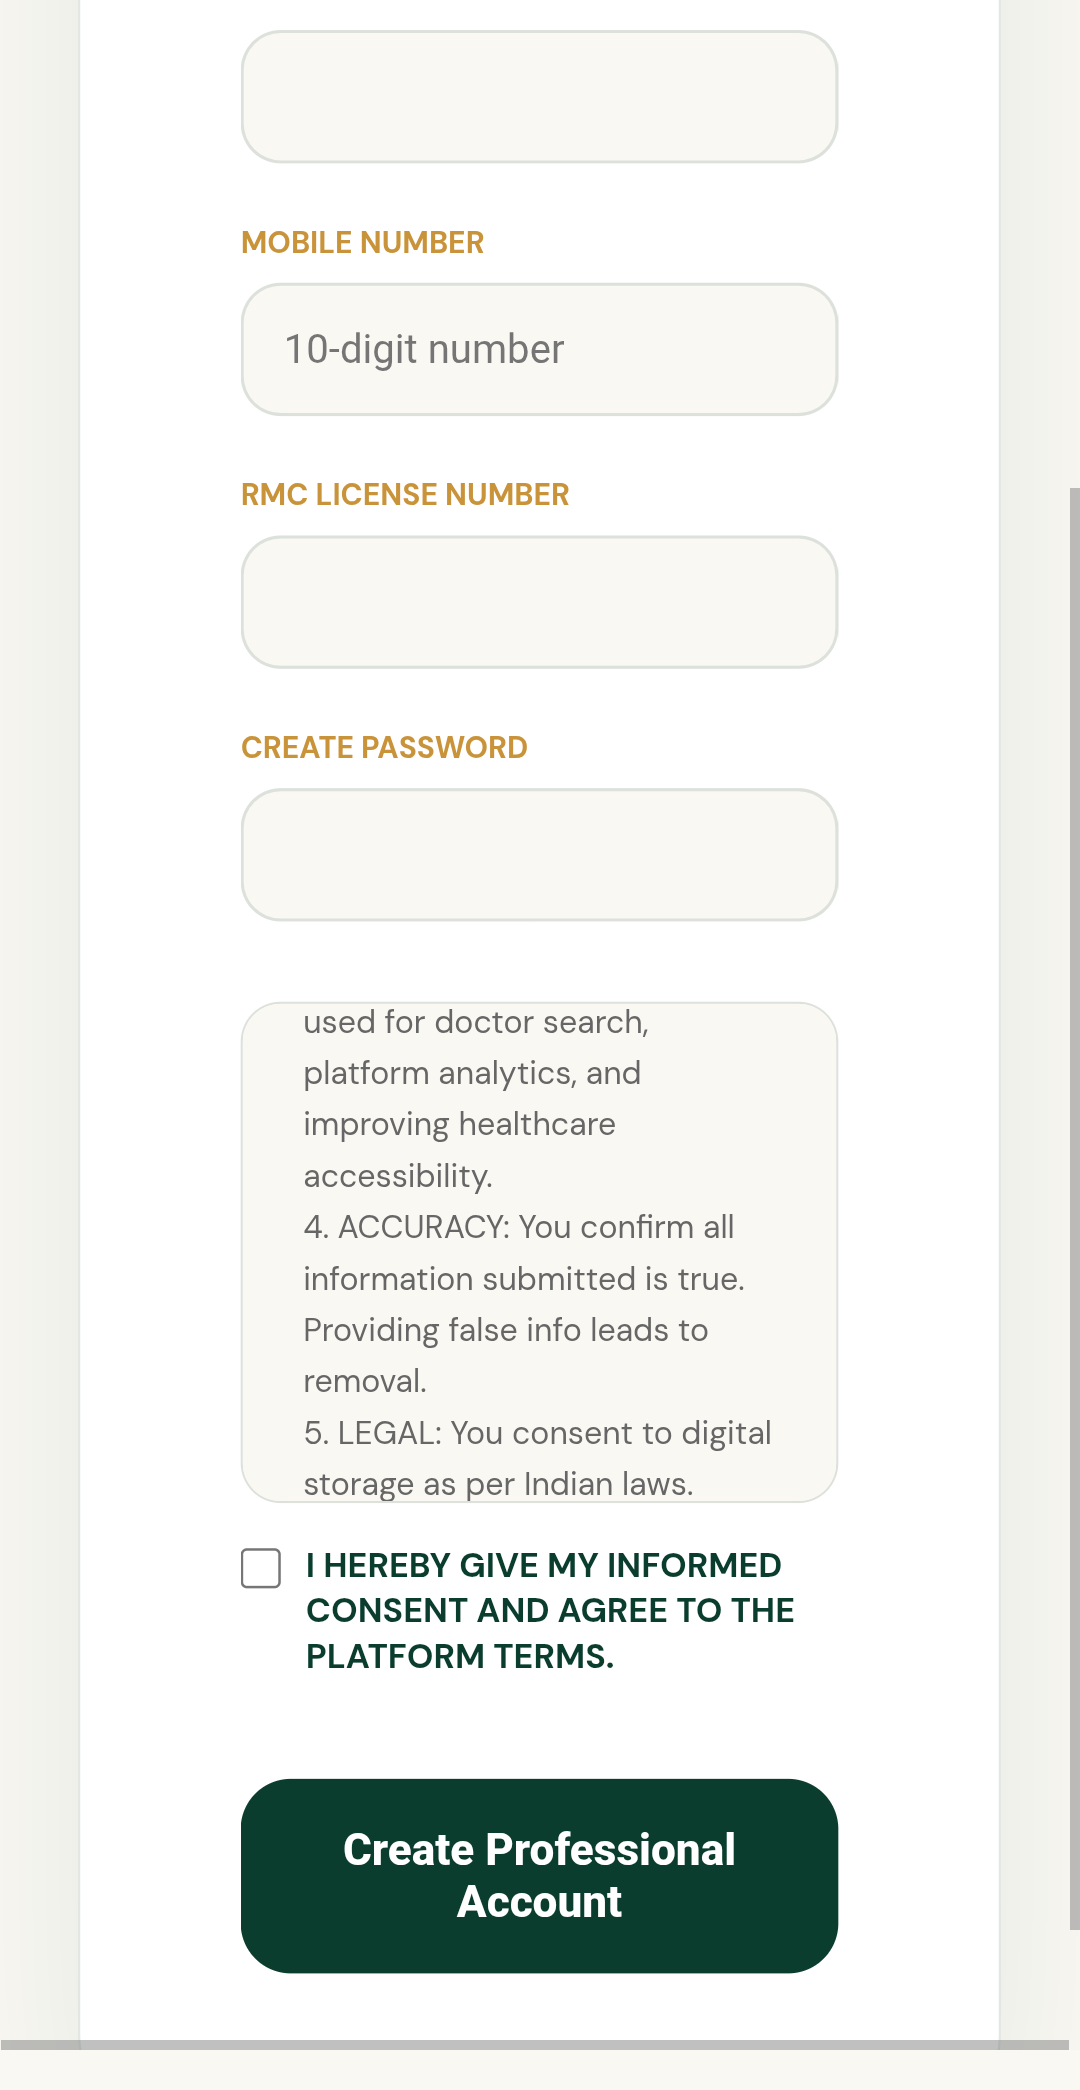
Enter your Full Name, Email, Mobile Number, RMC License Number, and create a password. The RMC number is what our team uses to verify your medical credentials.
Read the Consent & Data Usage Agreement, tick the checkbox, and tap "Create Professional Account" to submit your registration.
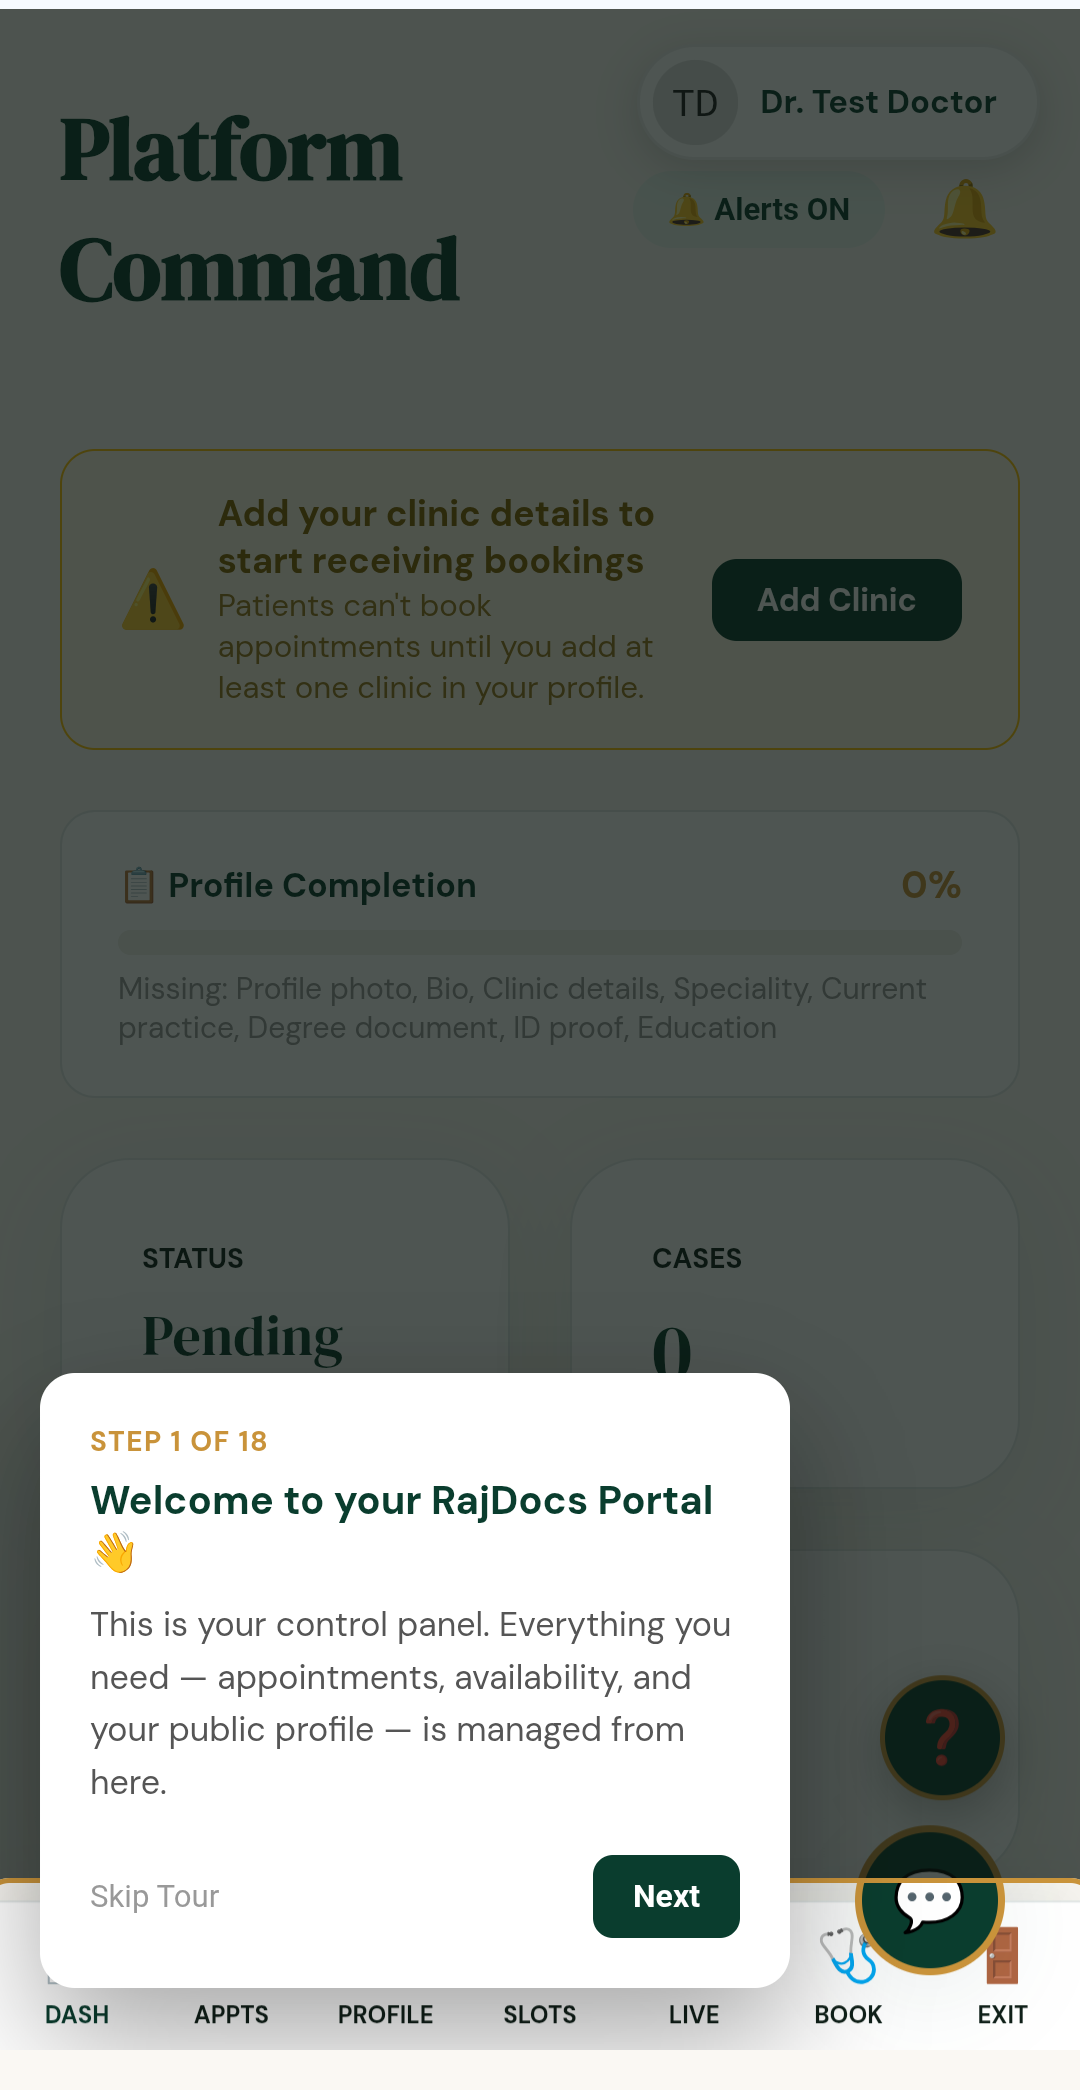
You're in! Your dashboard shows Status: Pending while our team verifies your details. A banner reminds you to "Add Clinic" — patients can't book until you do.
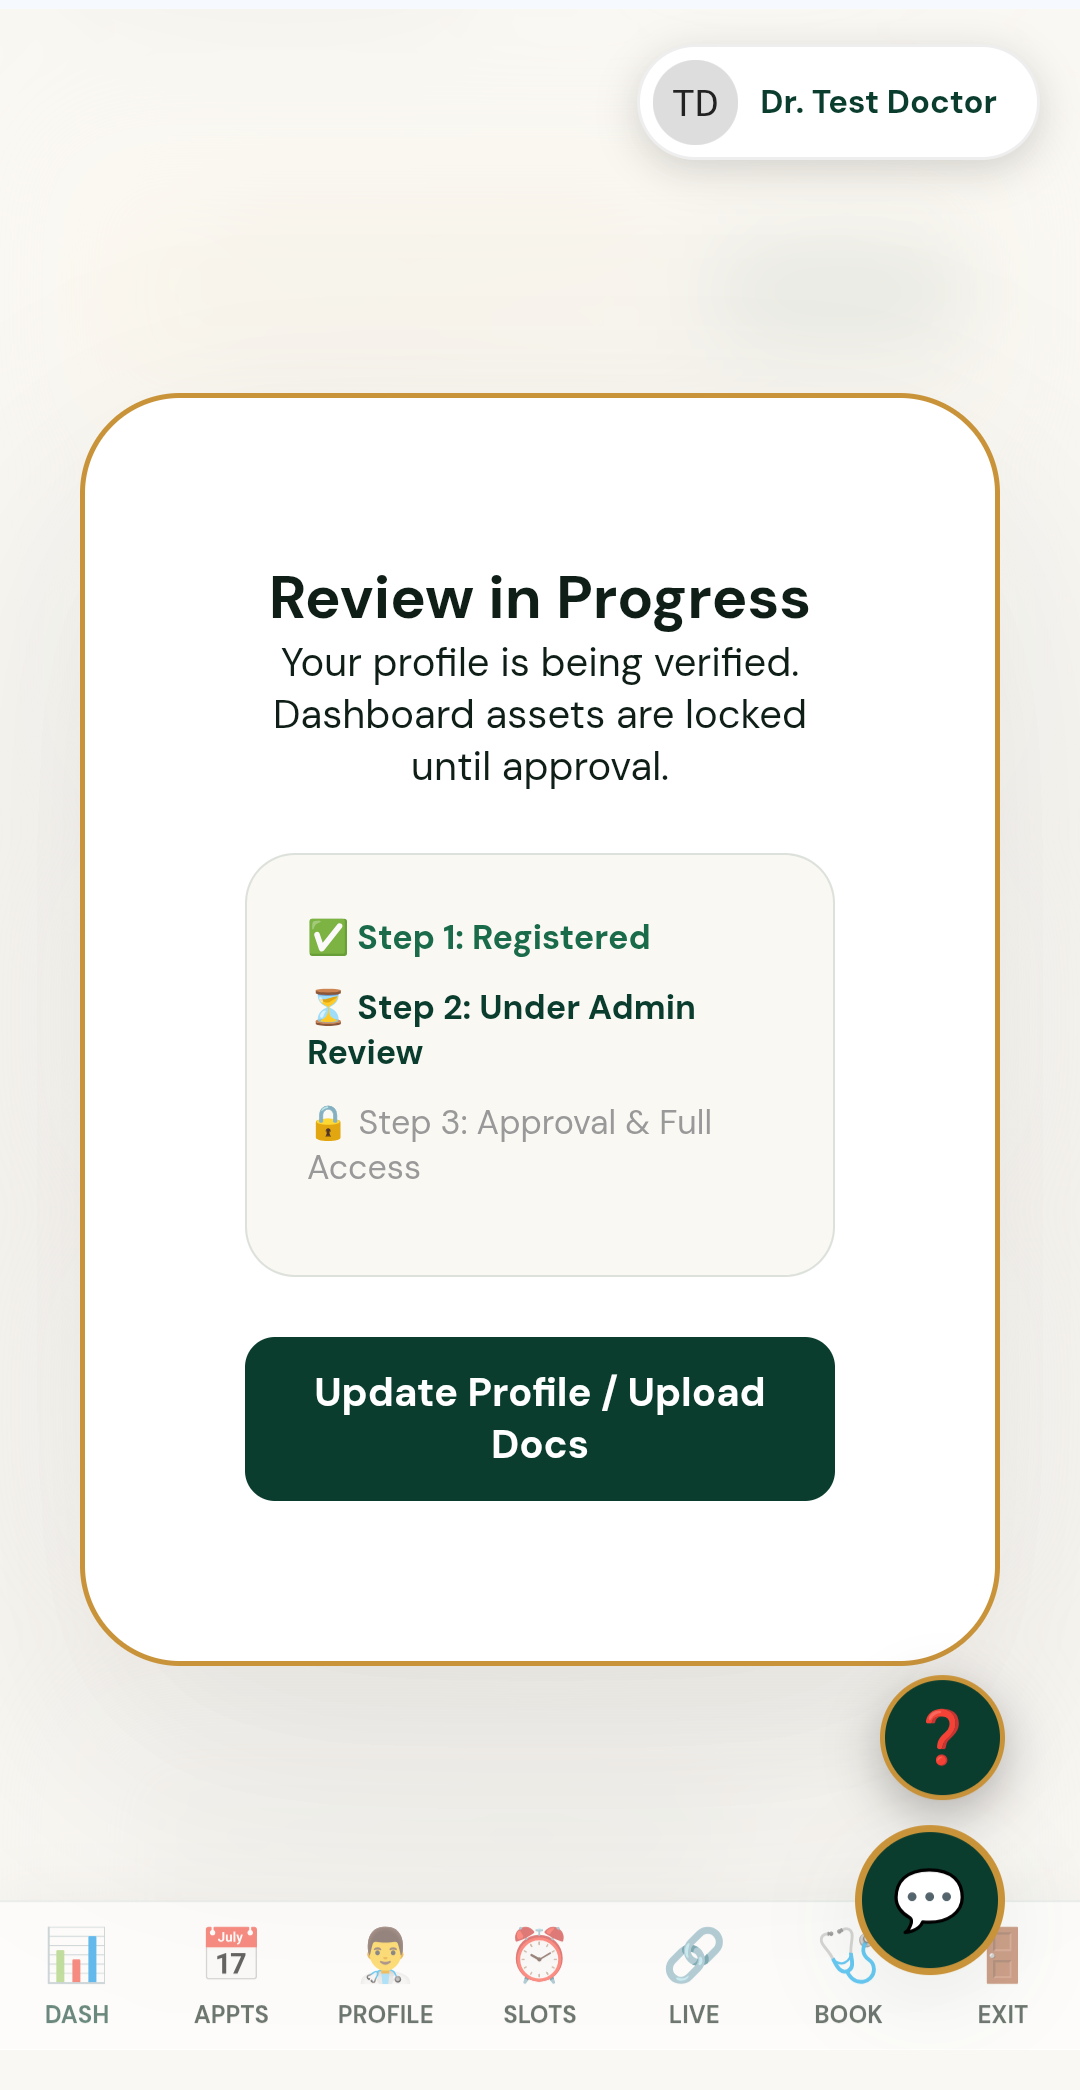
While admin reviews your profile, dashboard features stay locked. You can still tap "Update Profile / Upload Docs" to add missing details and speed up approval.
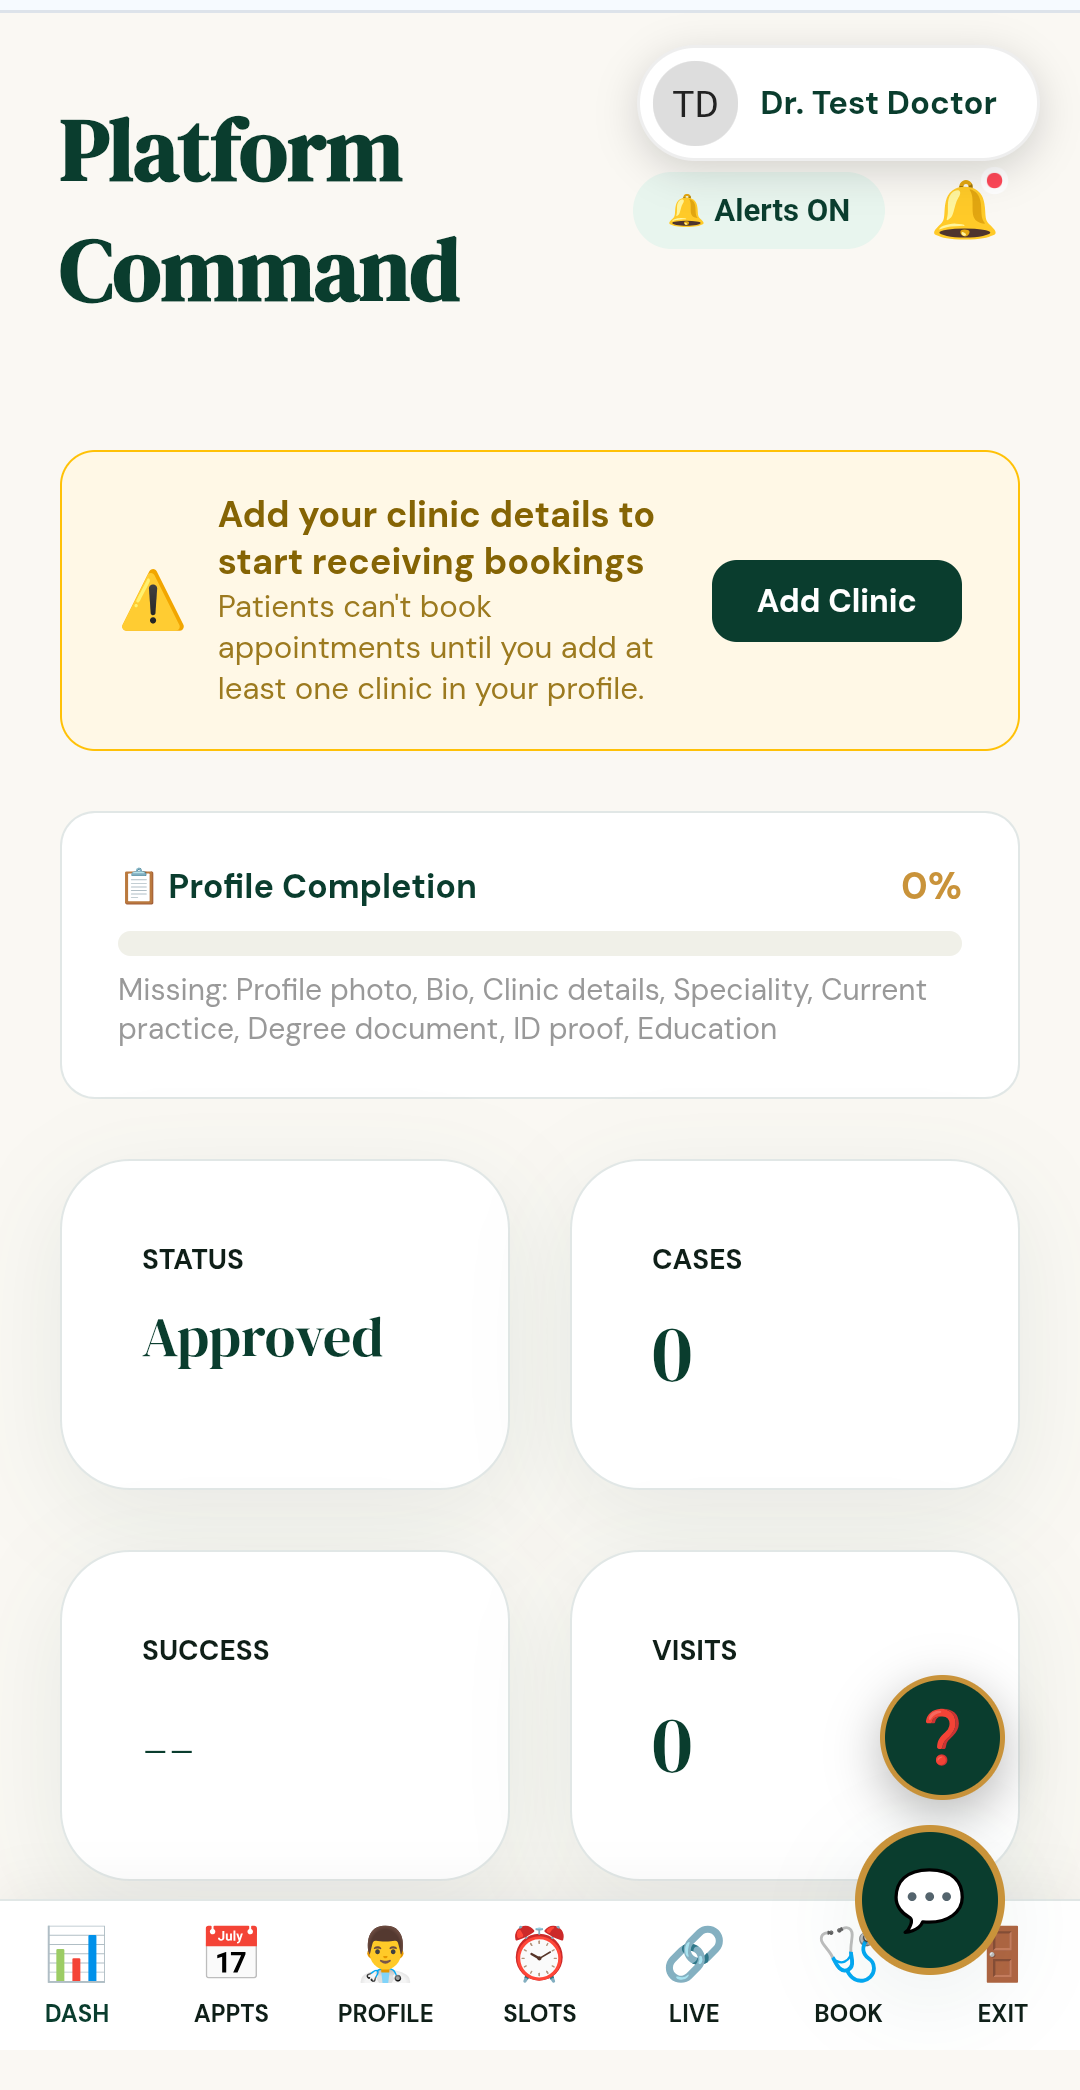
Once approved, Status switches to Approved and your full dashboard unlocks — Cases, Success rate, and Visits all start tracking. Turn on Alerts to get notified the moment a patient books.
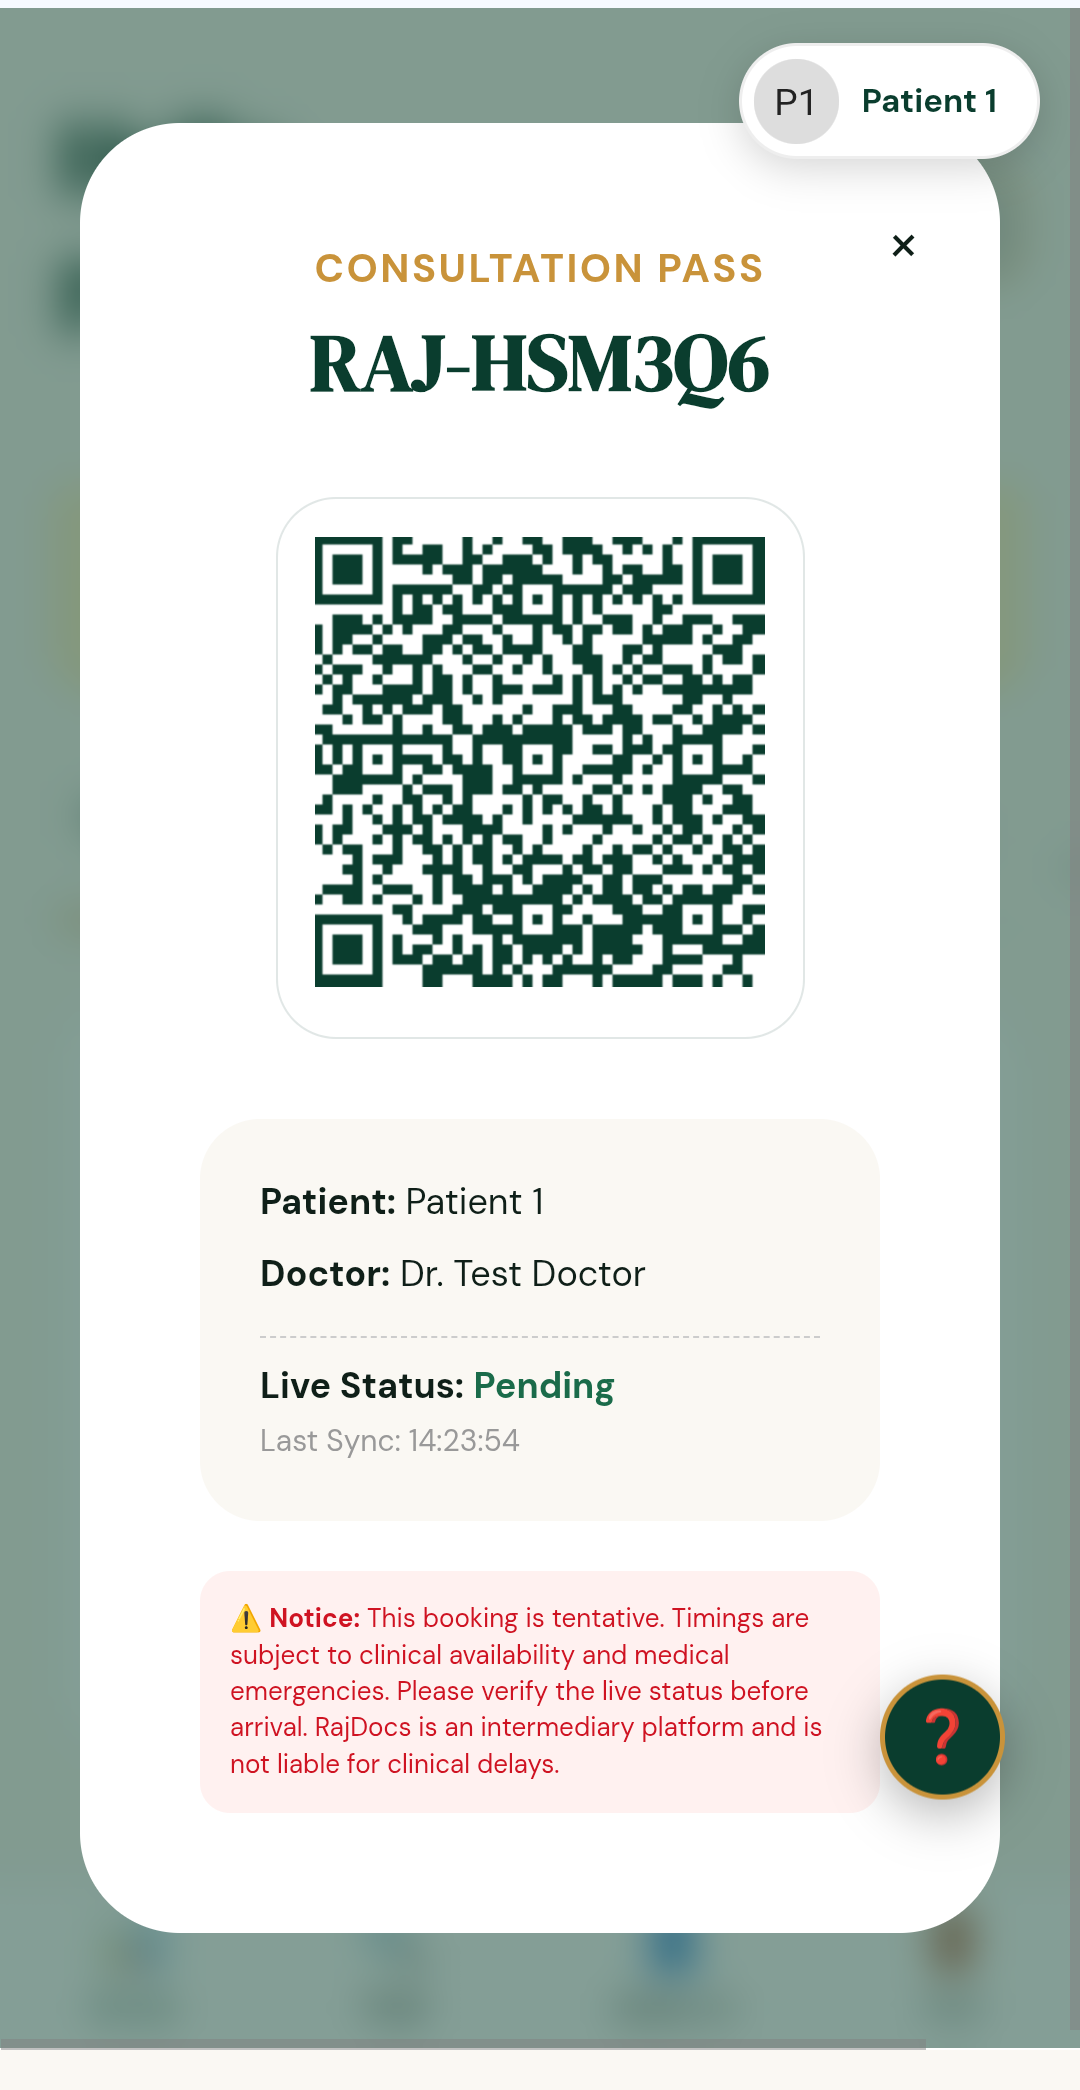
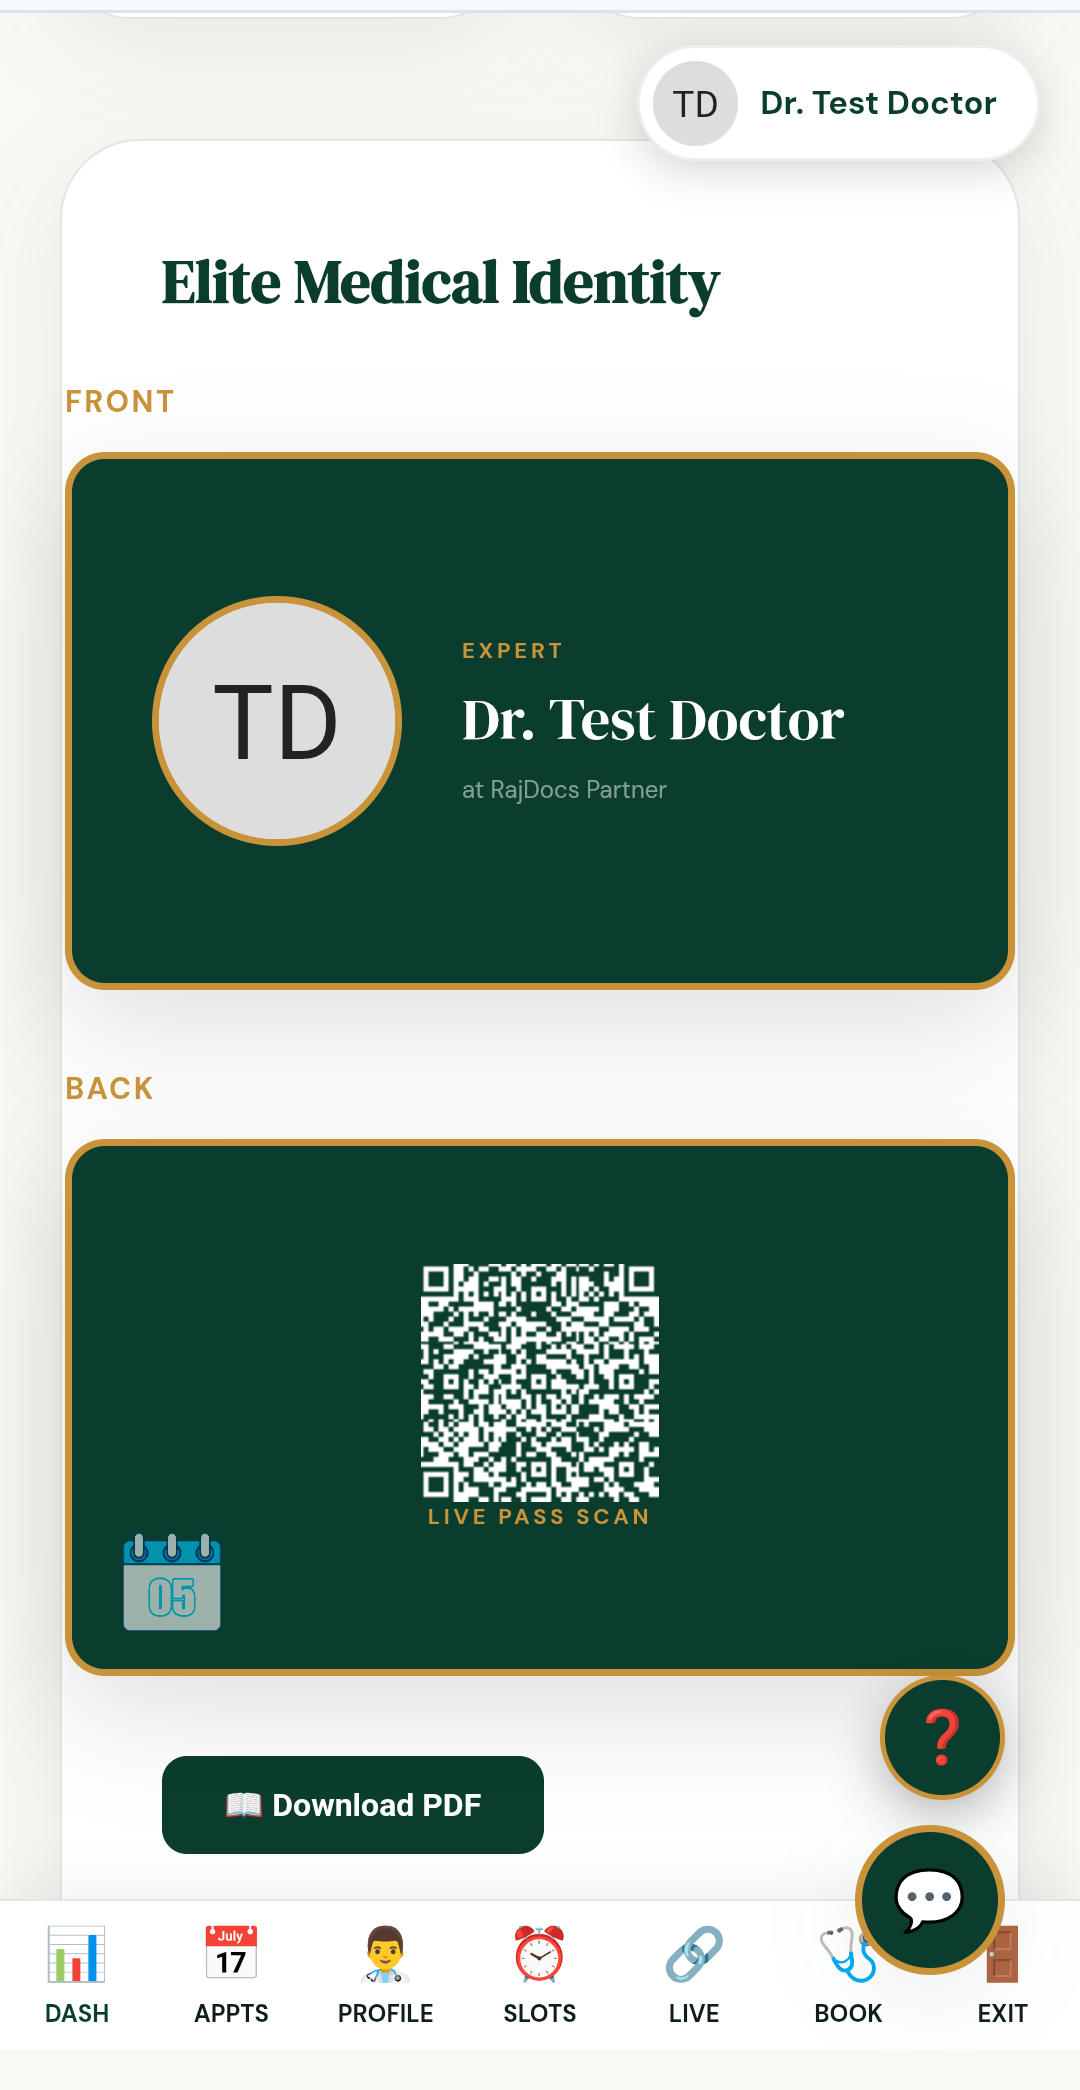
Every approved doctor gets a shareable digital ID card with a Live Pass Scan QR code. Tap "Download PDF" to print it or share it on social media.
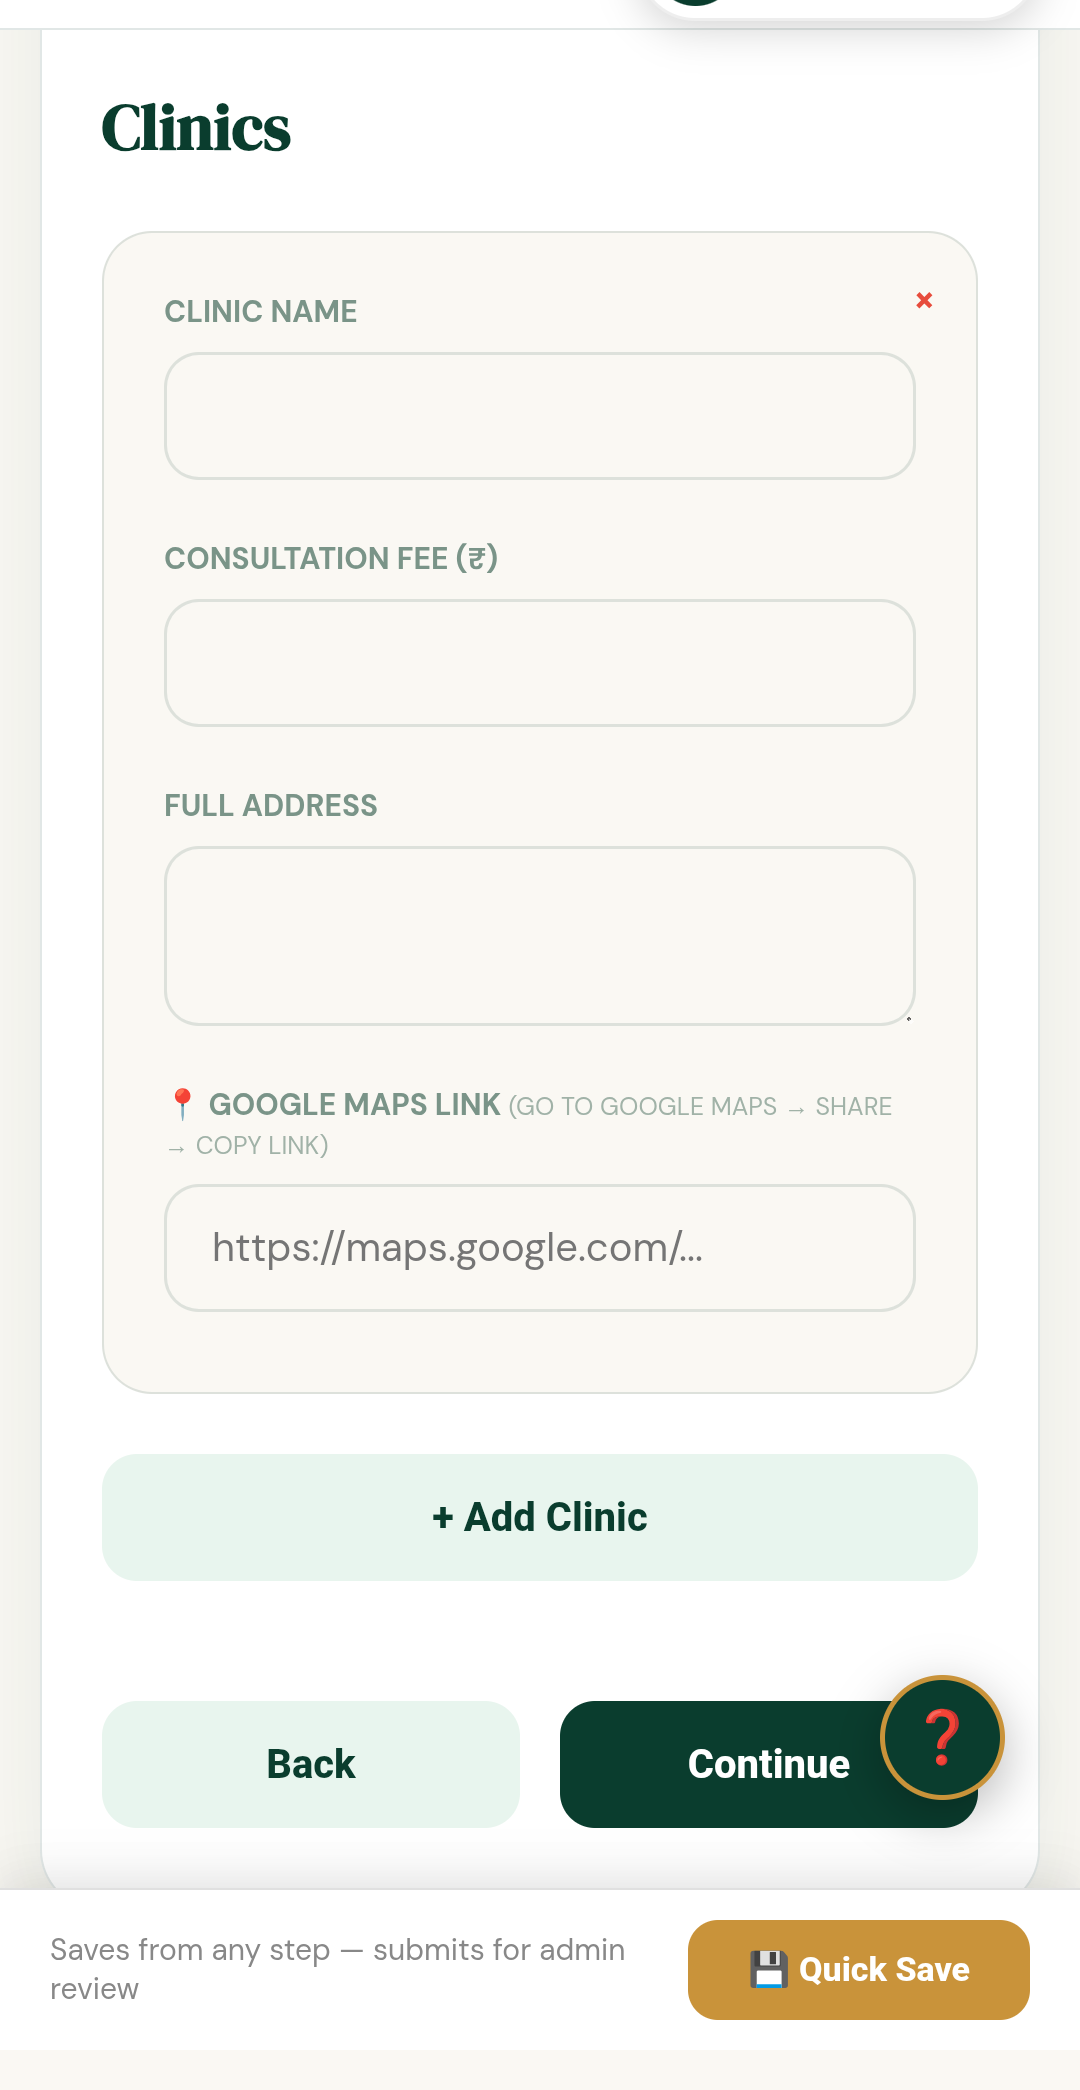
Under Profile → Clinics, tap "+ Add Clinic" and fill in the clinic name, consultation fee, full address, and a Google Maps link. This unlocks bookings for patients.
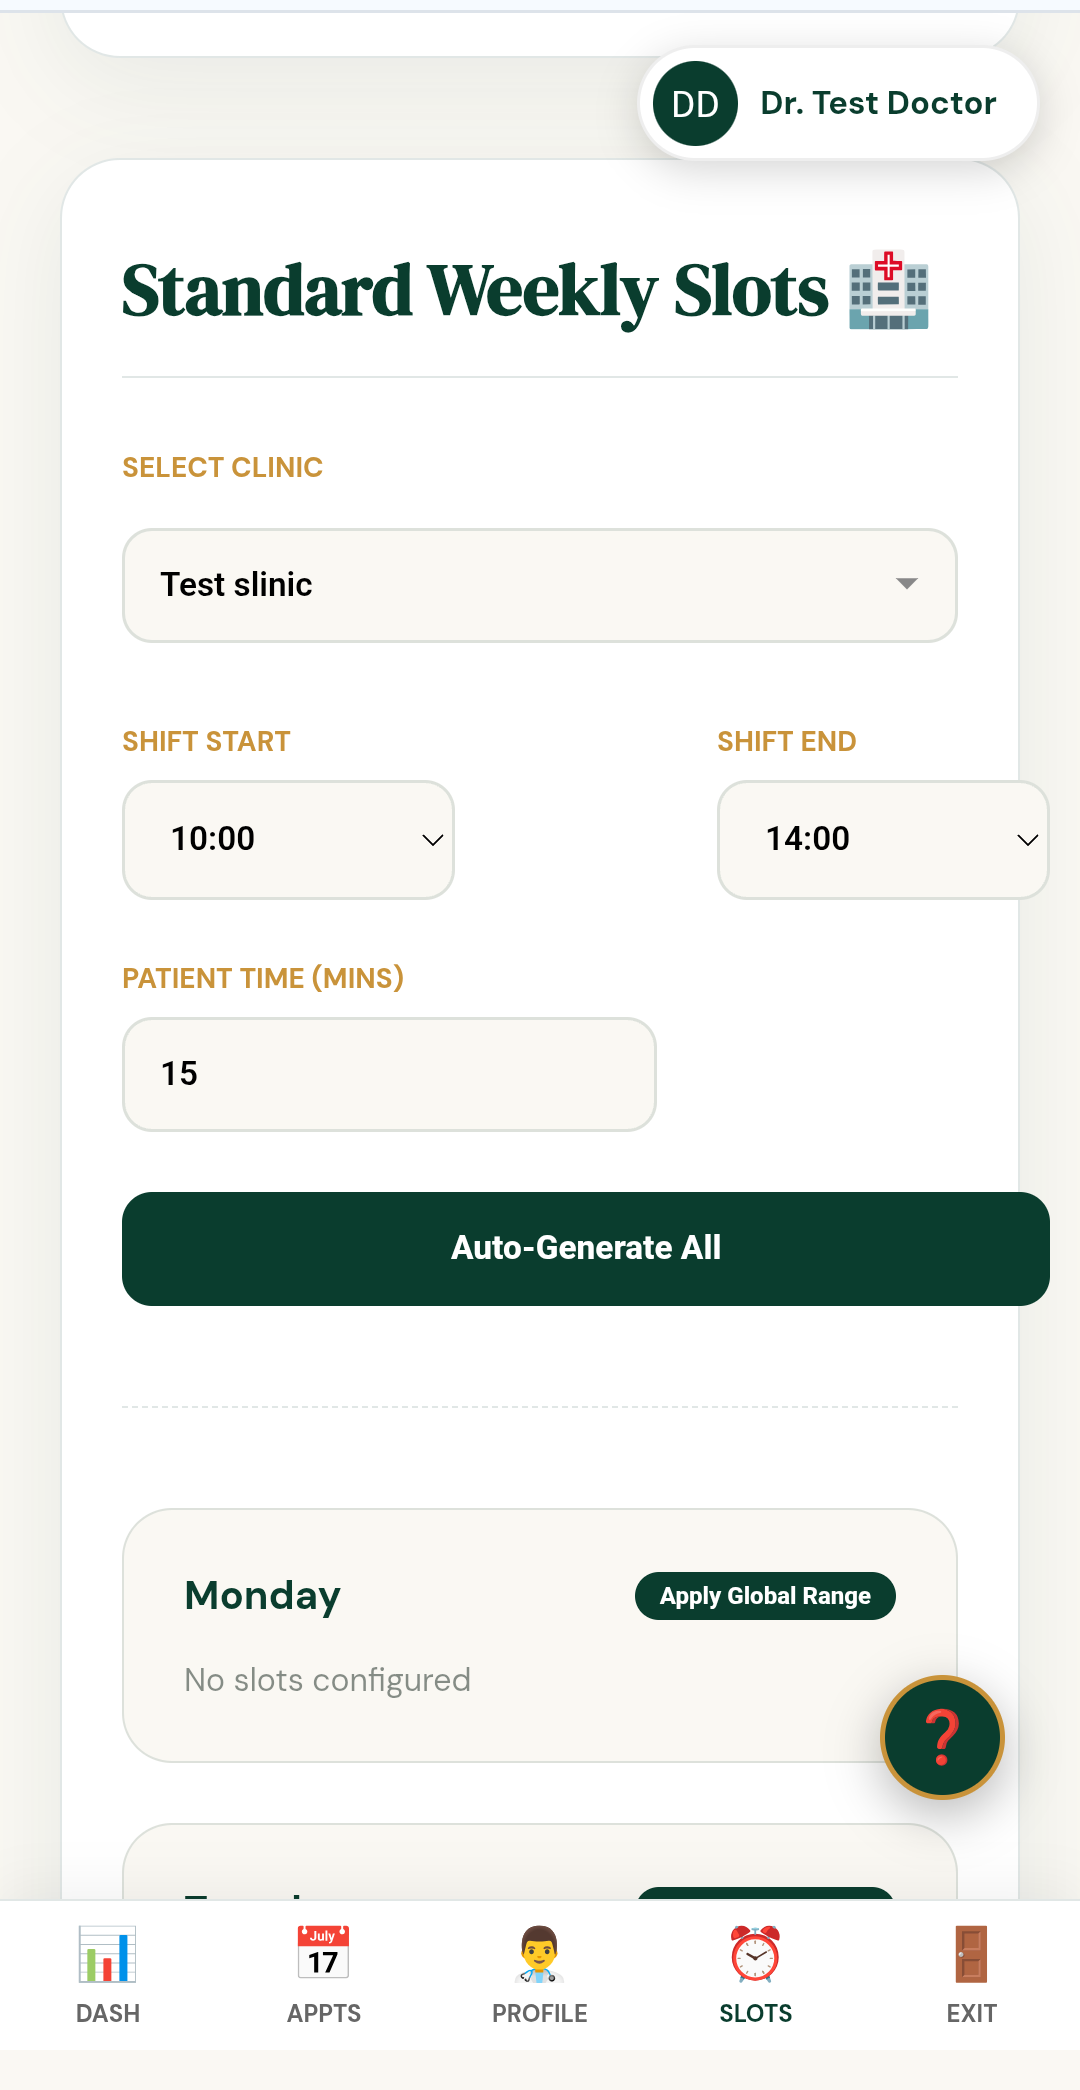
Under Manage Slots, pick your clinic, set a Shift Start / End and time per patient, then tap "Auto-Generate All" — RajDocs builds your full weekly schedule instantly.
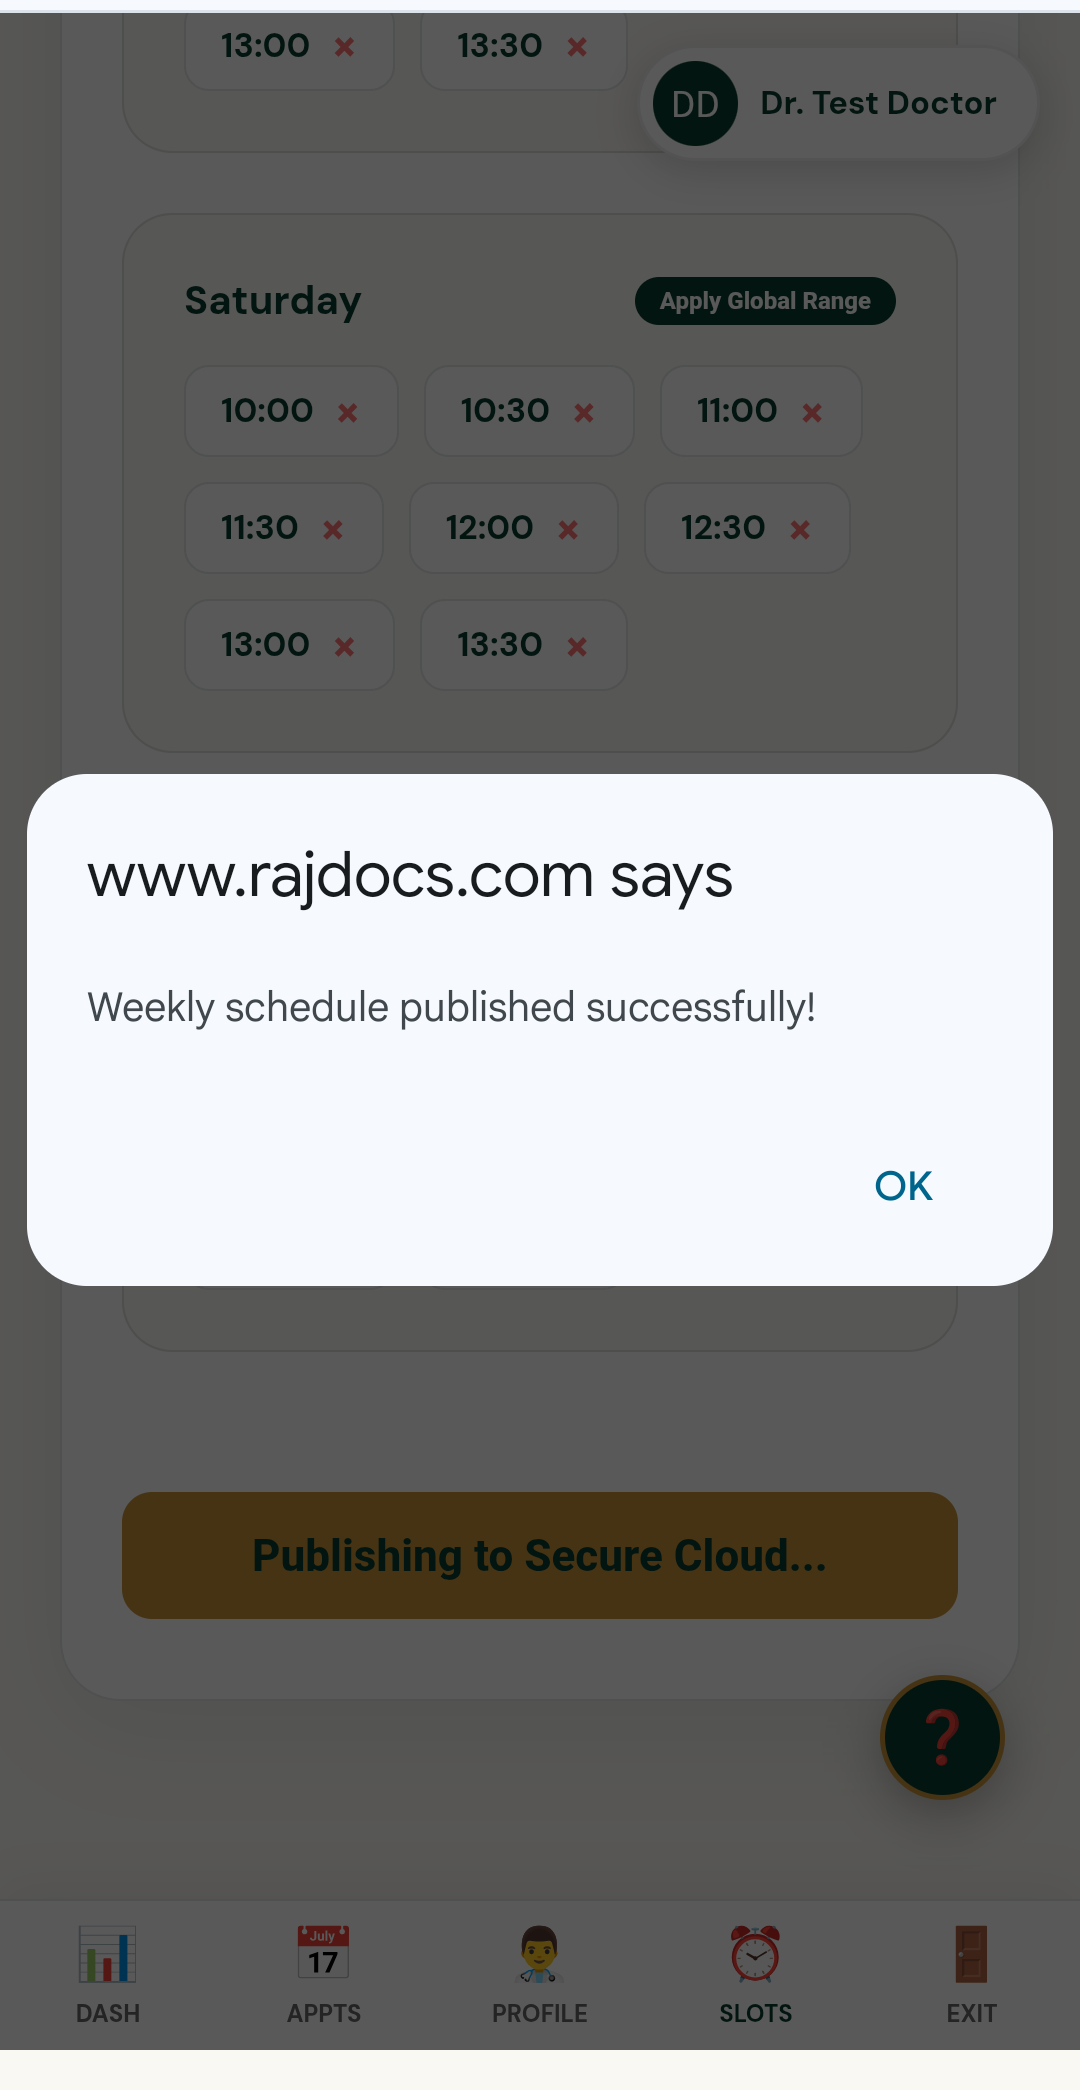
A confirmation pop-up appears — "Weekly schedule published successfully!" Your available slots are now live for patients to book.
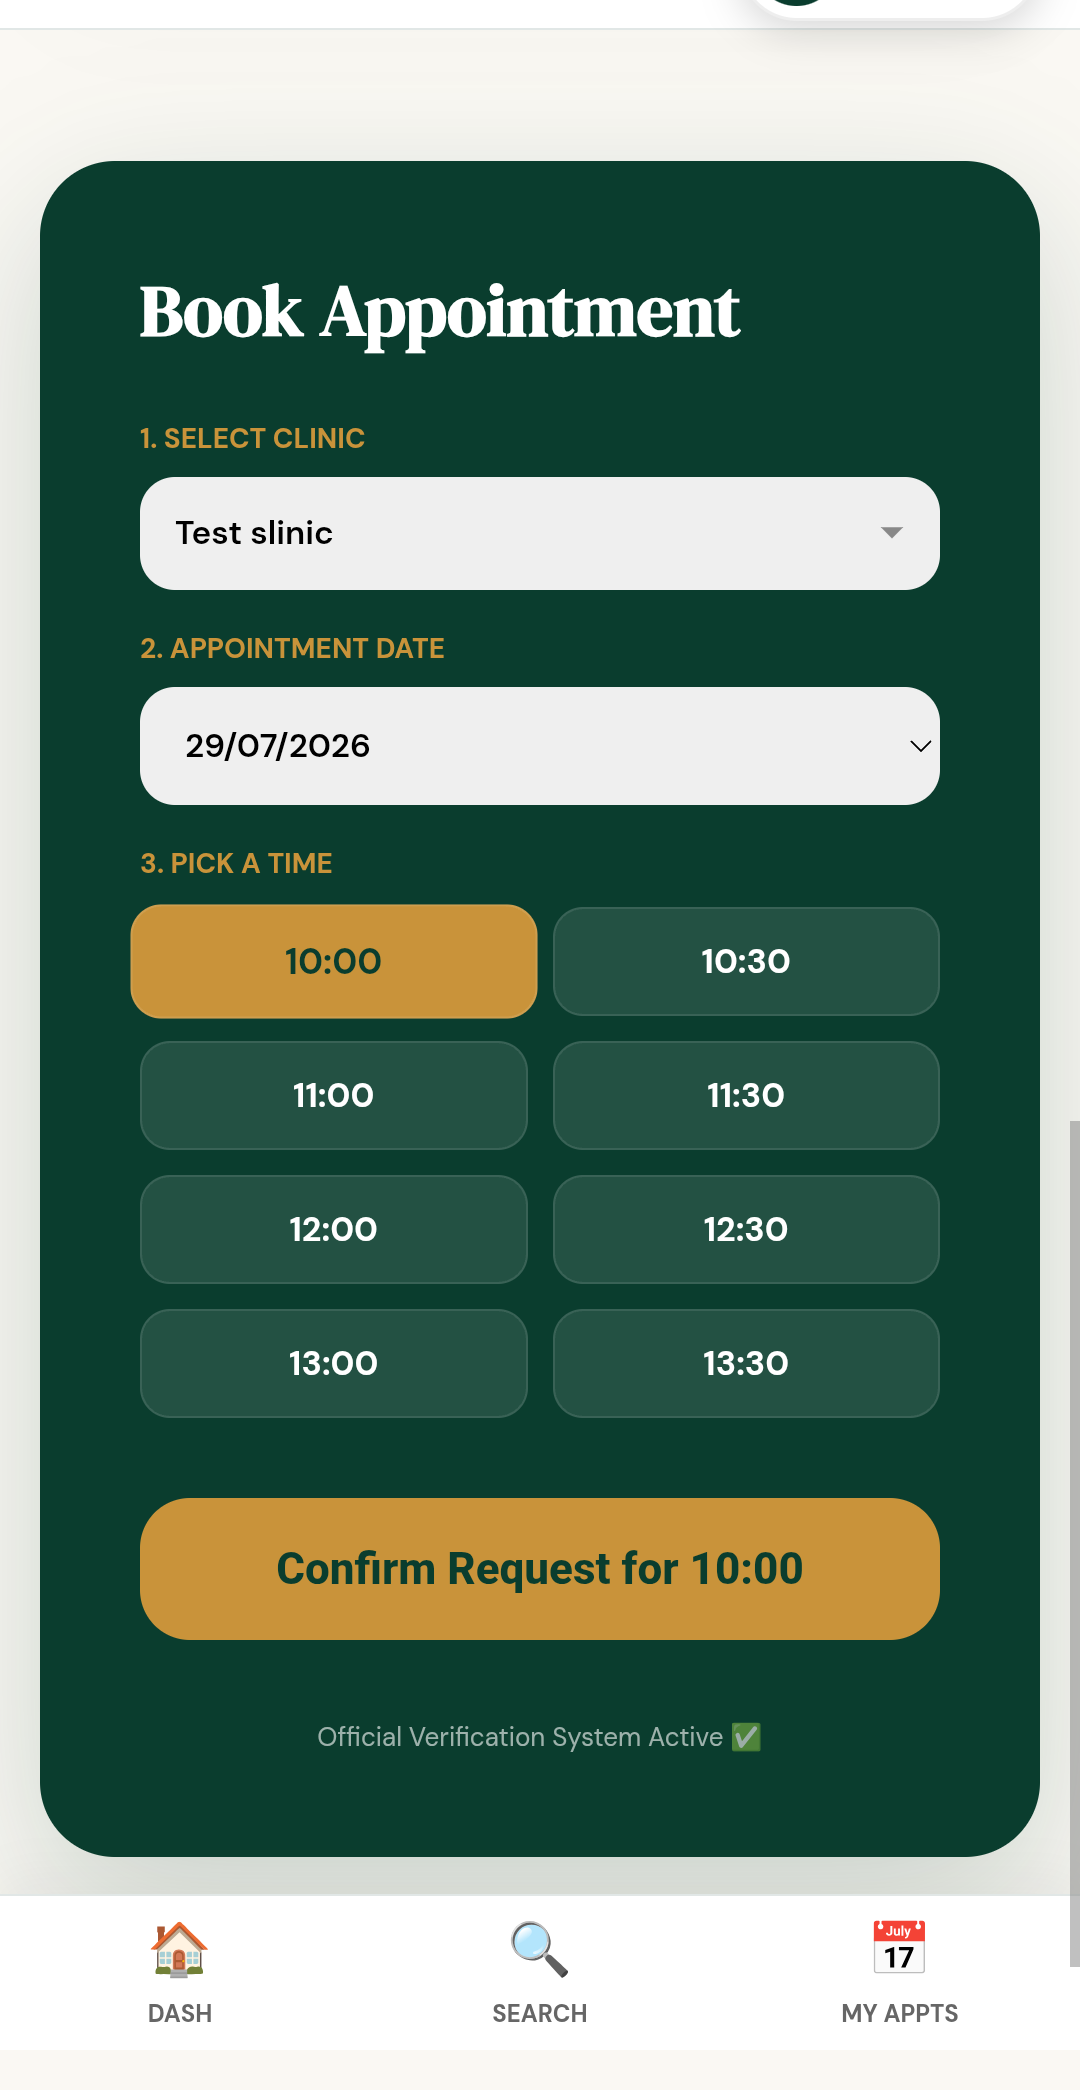
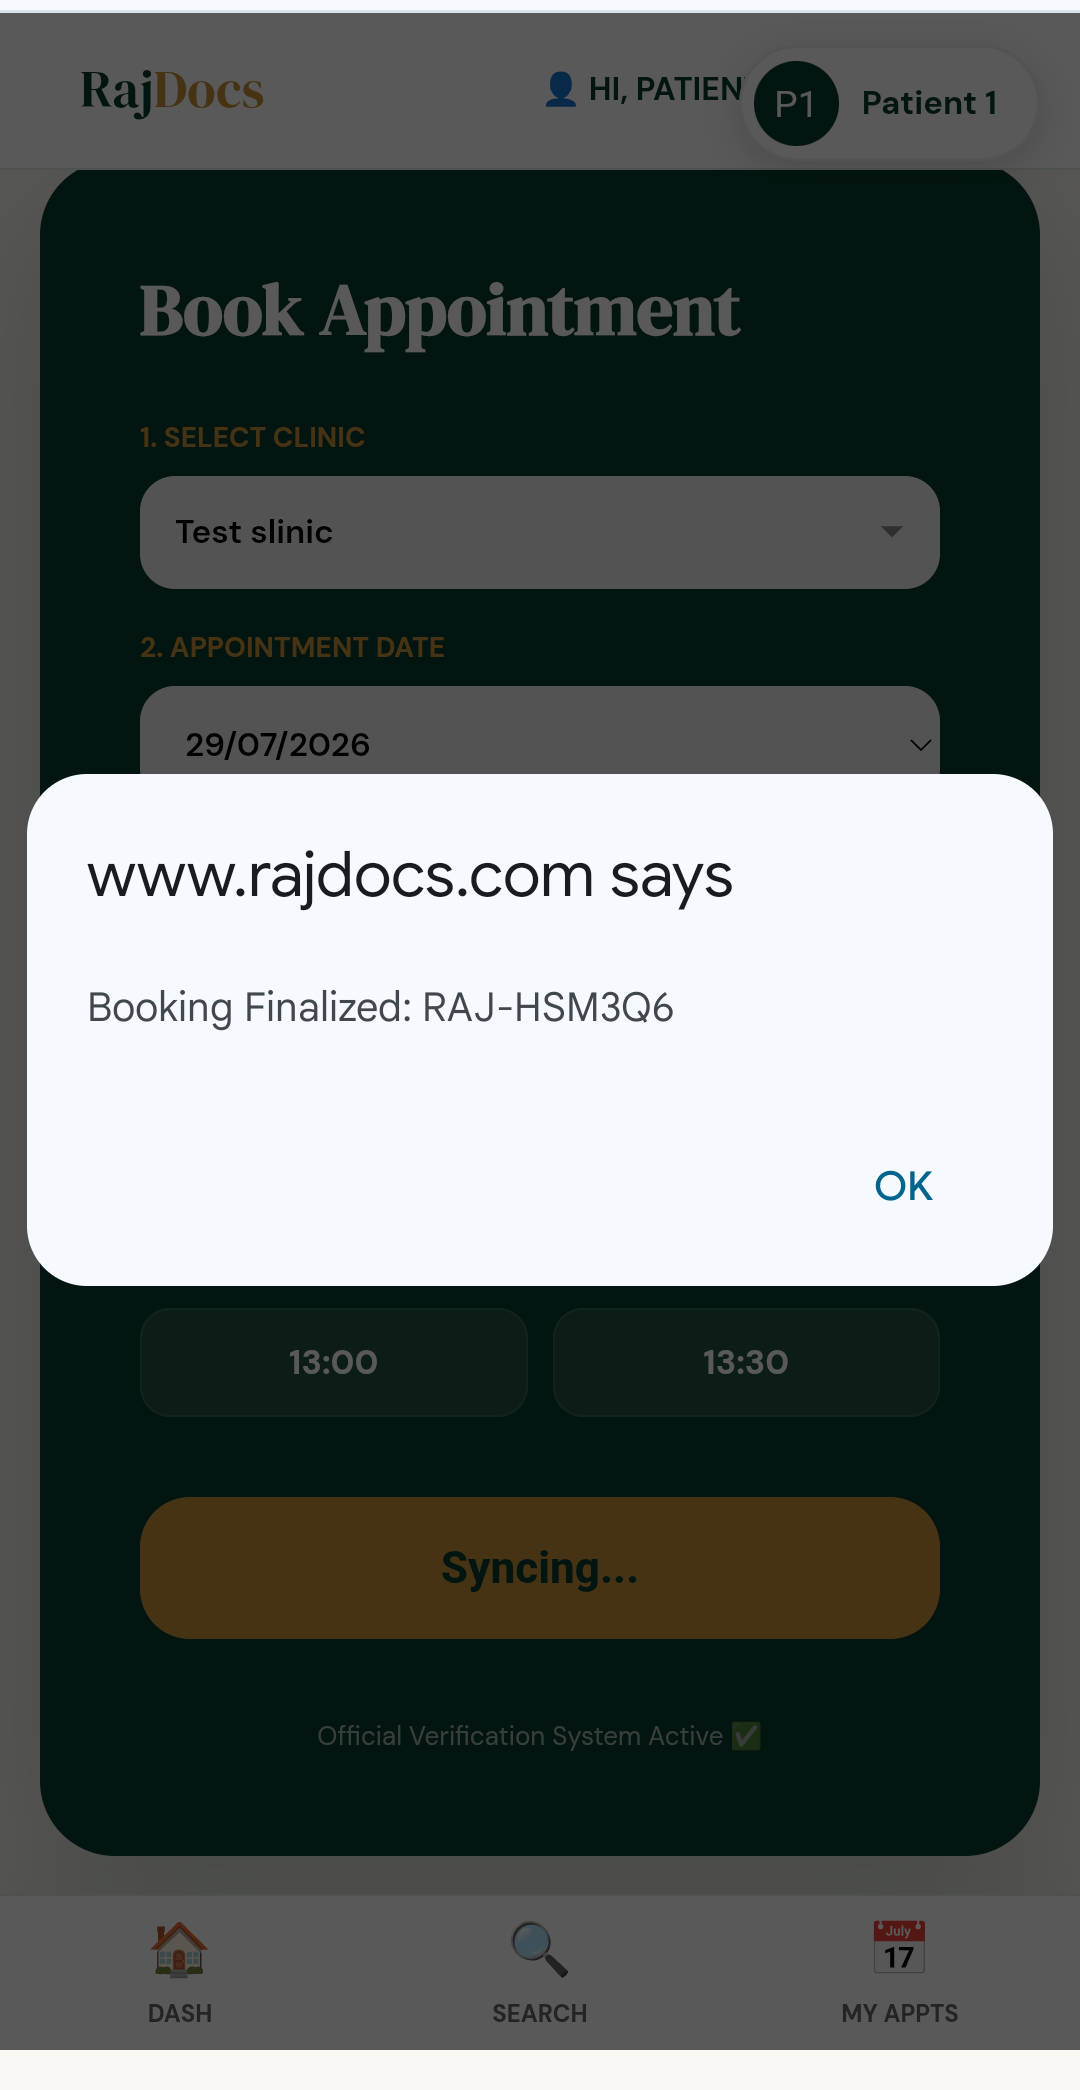
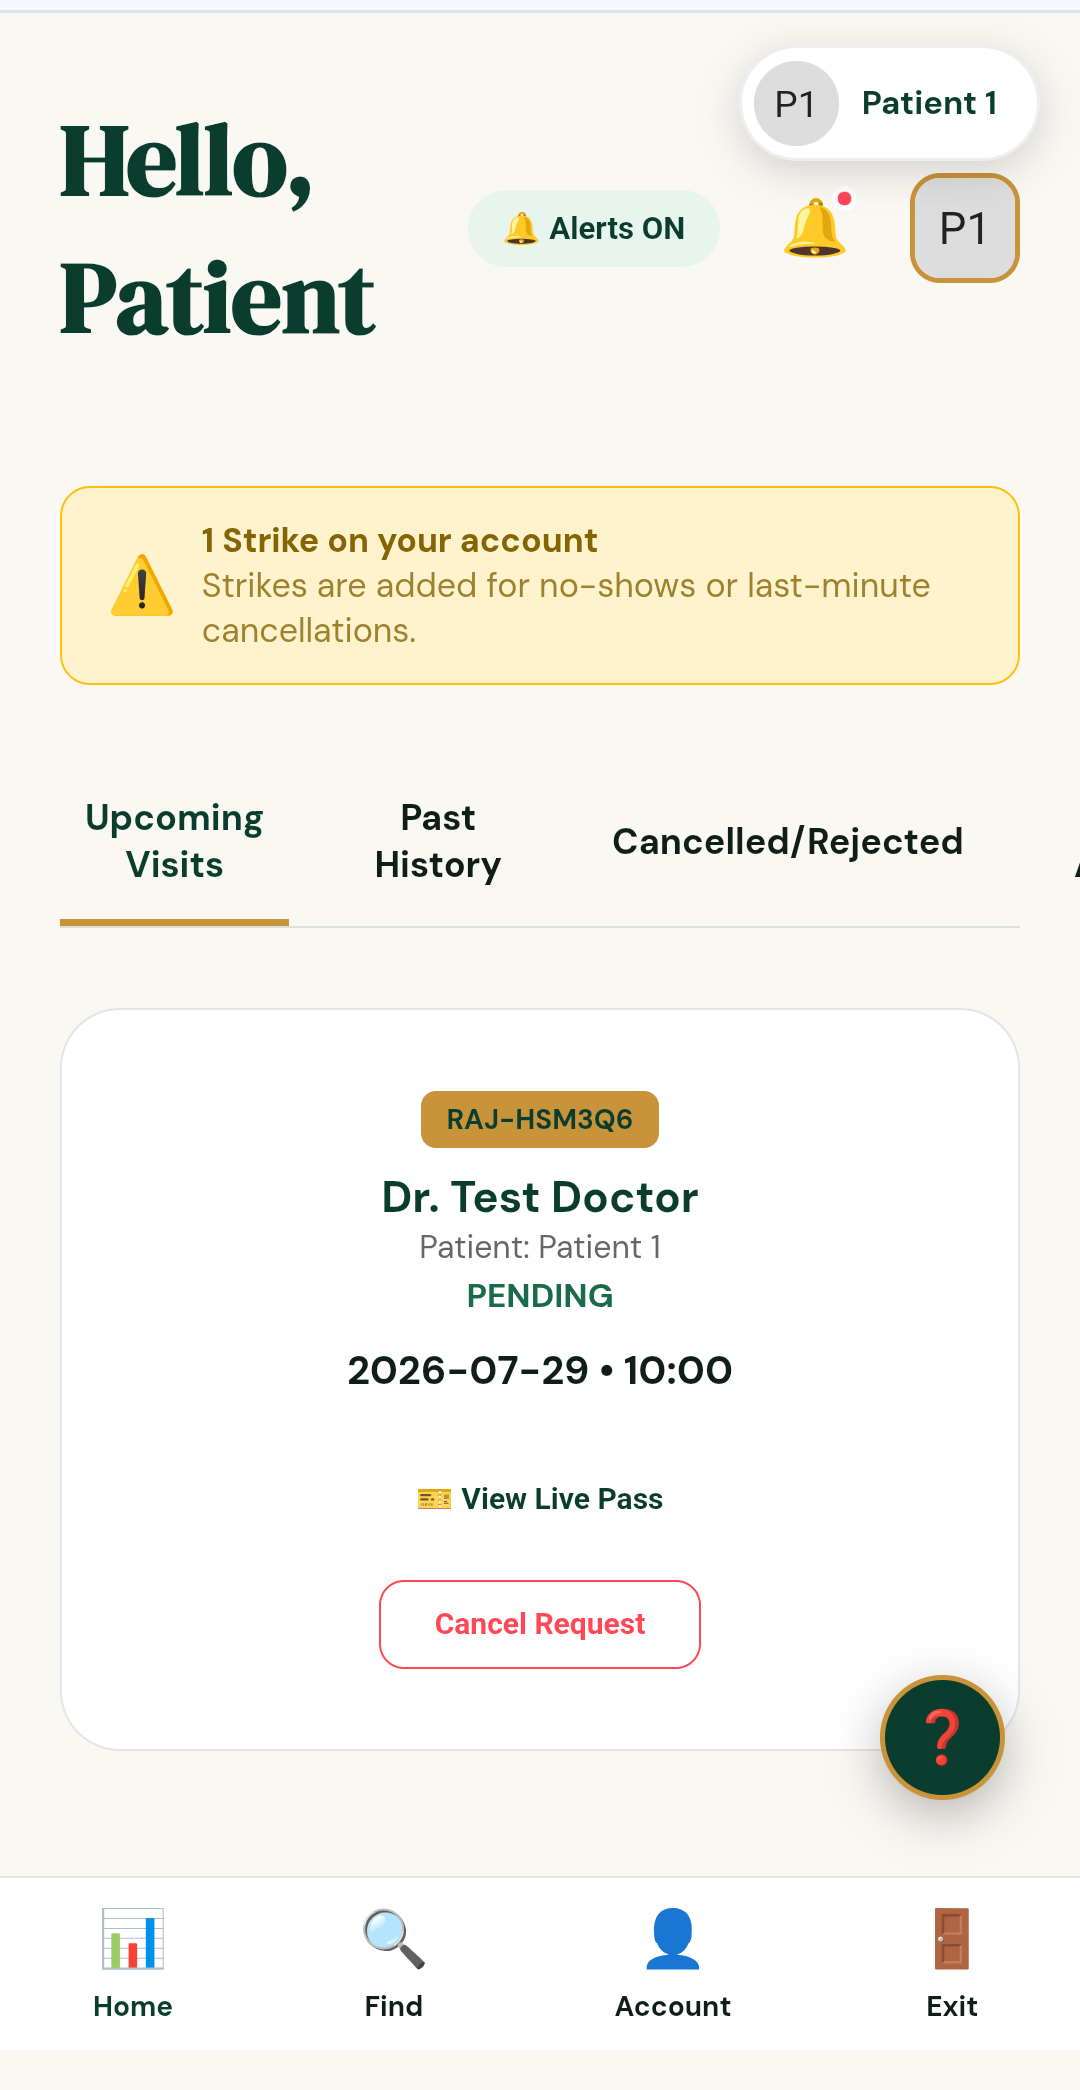
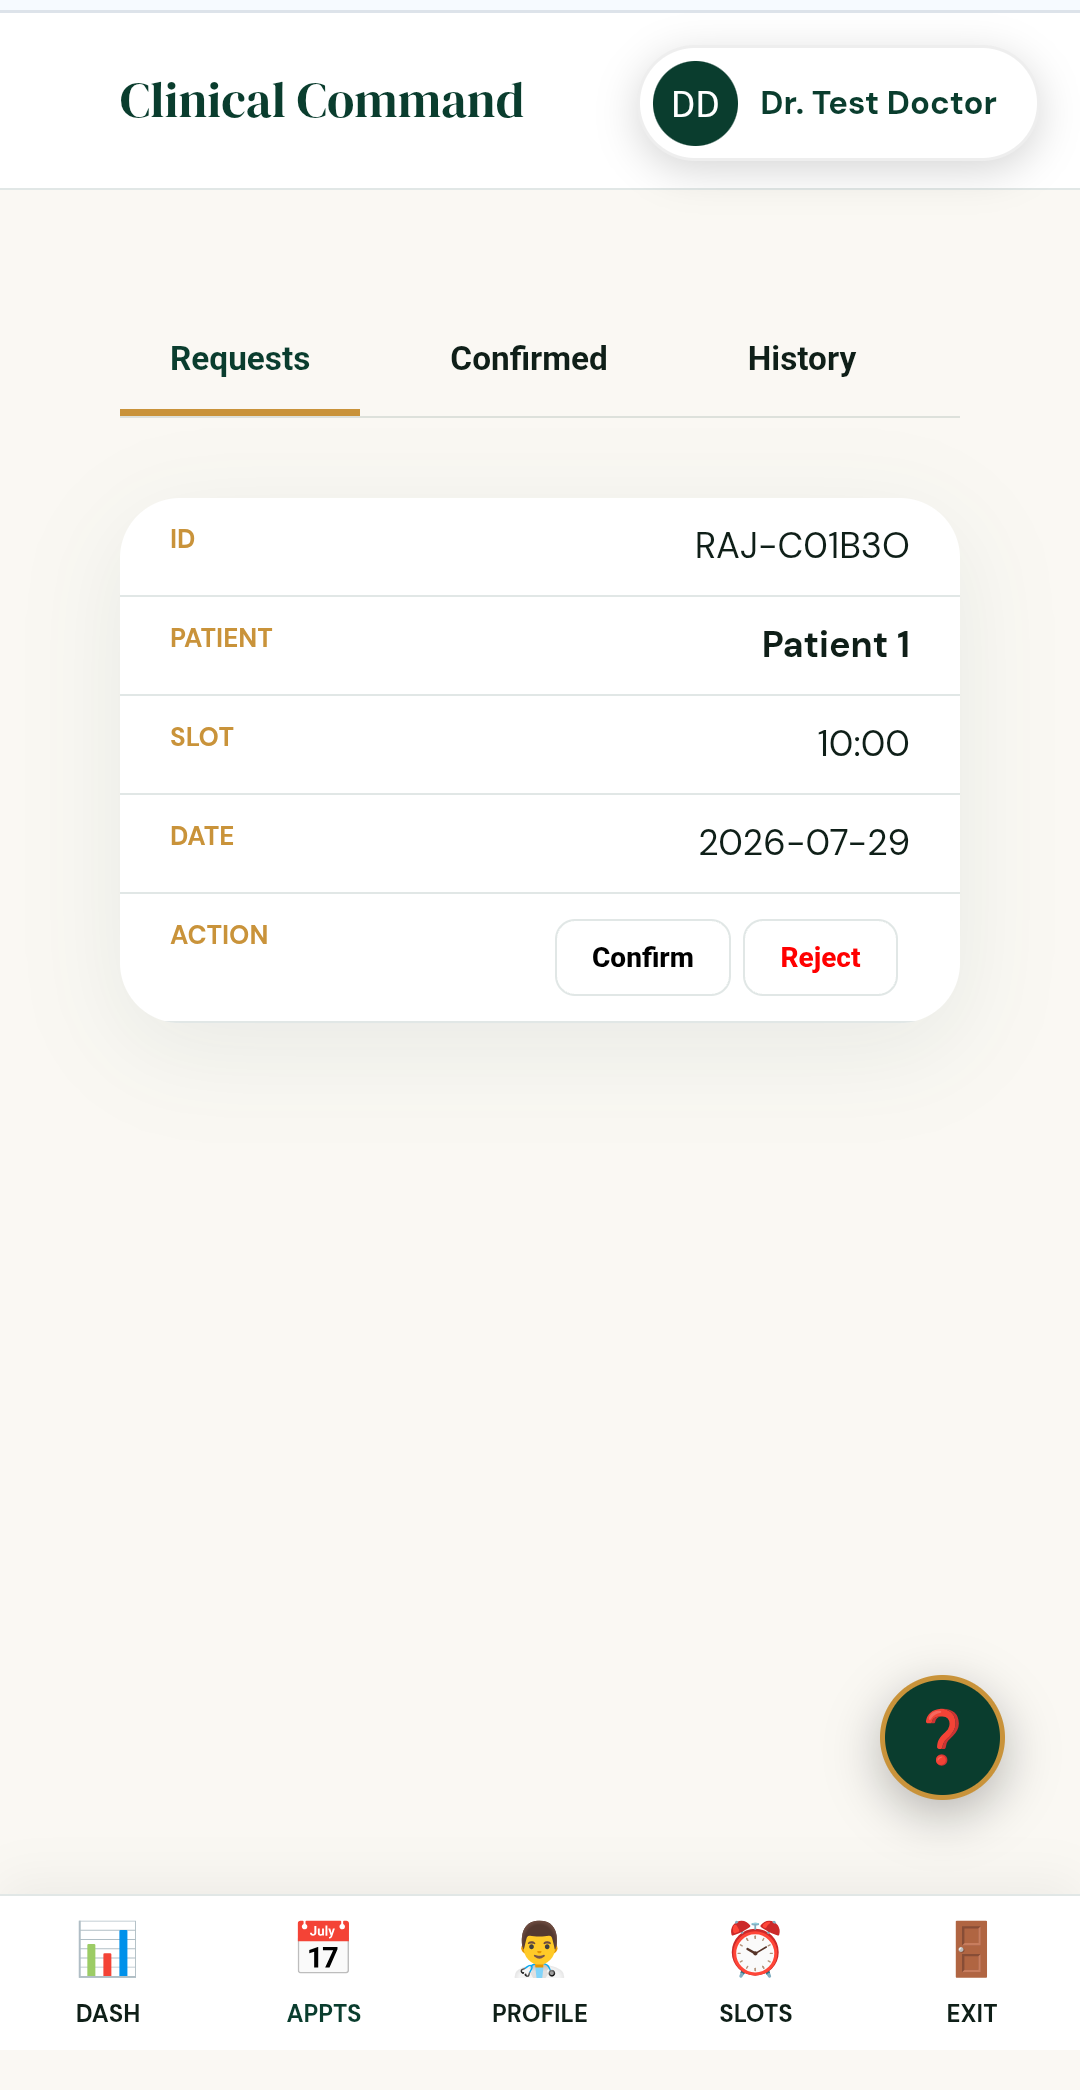
New bookings appear under Appointments → Requests with the patient's name, slot, and date. Tap Confirm to accept, or Reject if you can't take it.
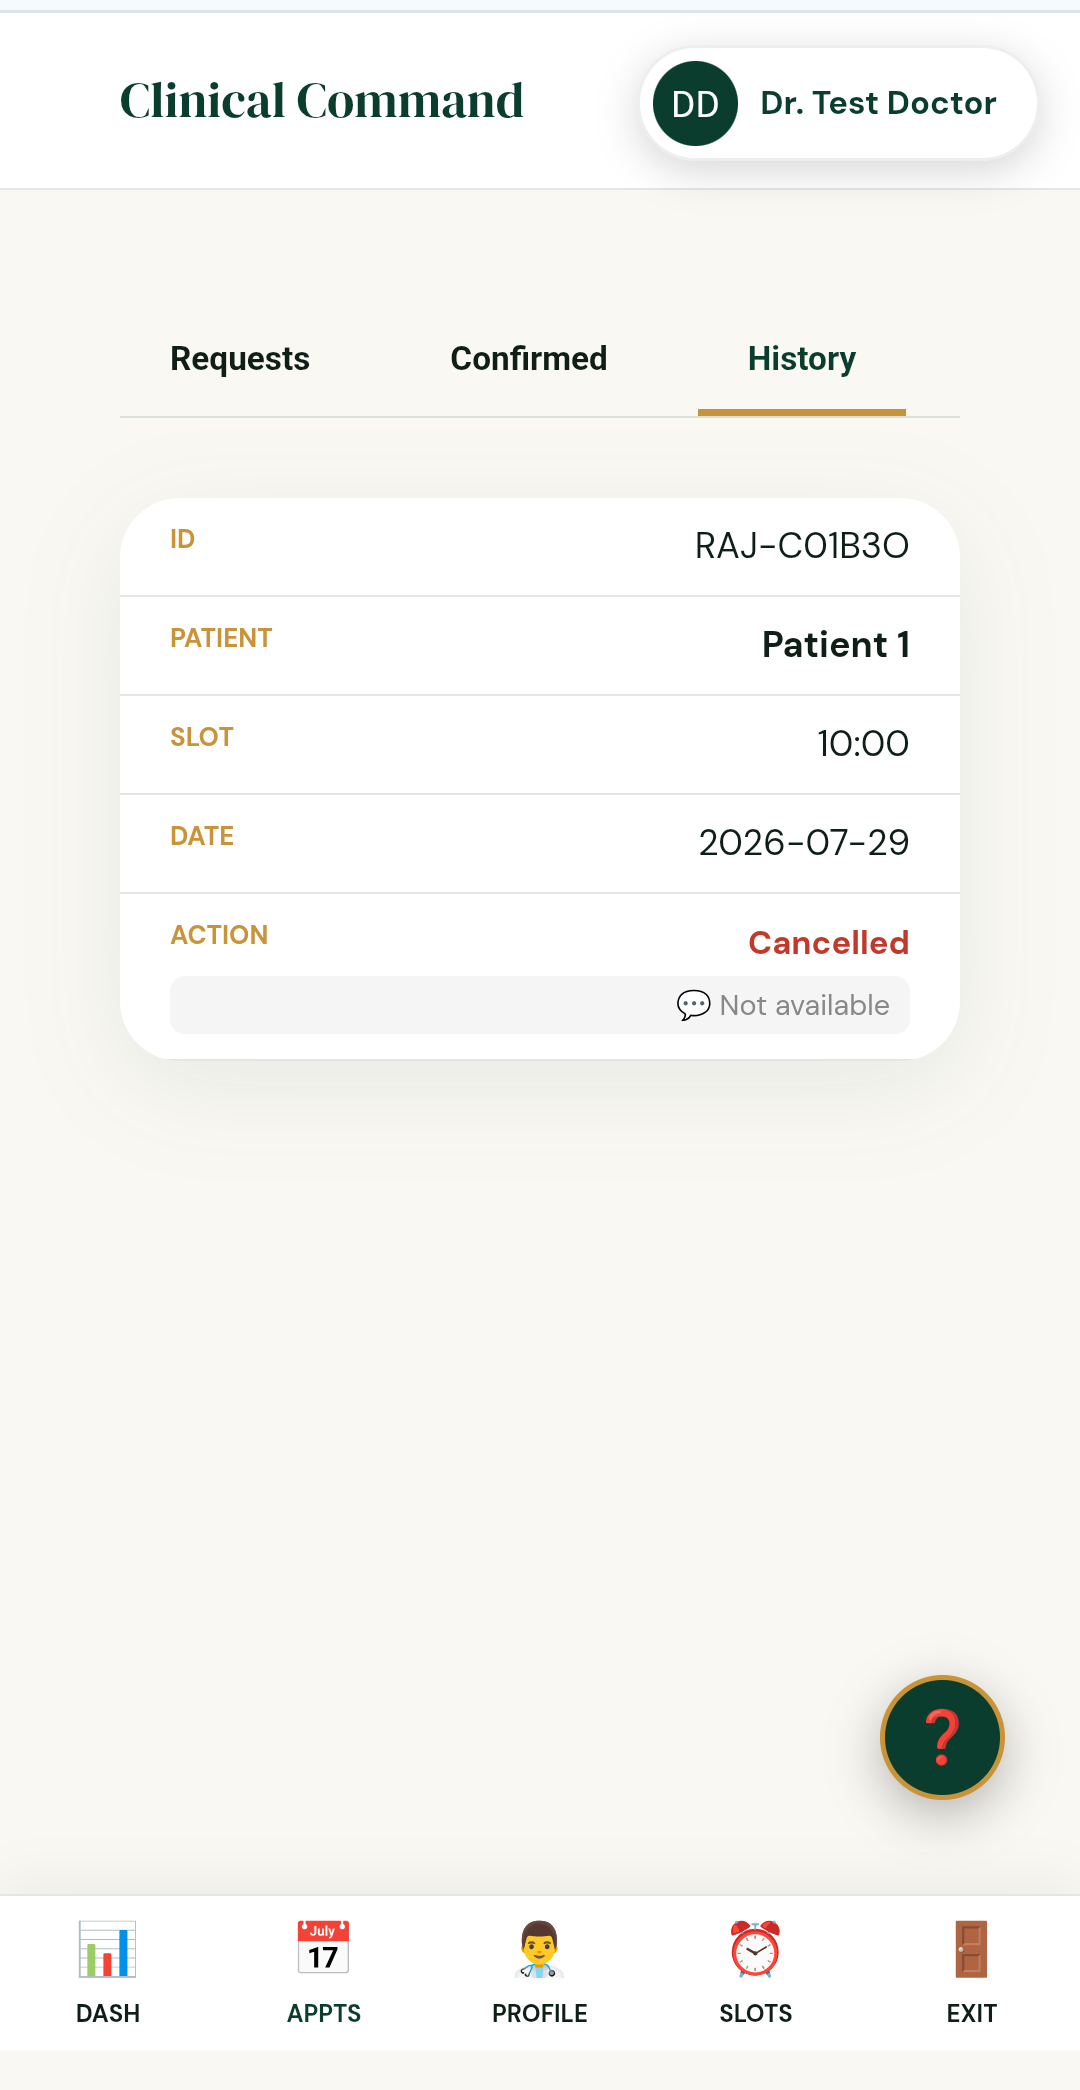
Every confirmed, completed, or cancelled appointment moves into the History tab, along with the reason if it was cancelled — a full record of every visit.